Wednesday, October 24, 2012

Revisiting "Knowing Your Schedule and Expectations"


I wanted to share my second article in Arts & Activities Magazine!  In each edition throughout the year, I will have an article focused on balancing traveling, cart, and classroom situations.  The article in this issue is called "Knowing Your Schedule and Expectations," which focuses on what you are expected to do in your district and with your own schedule.

As always, I hope whatever advice I give helps you!

You can visit the article on page twelve here: http://pubdev.ipaperus.com/ArtsandActivities/AAOctober2012/

Thursday, October 18, 2012

Fall-Inspired Creations

It's that time of year!  I enjoy fall projects.  I love the colors, shapes, and other elements we visit when creating the student's projects.  I try my best to make all fall-inpired projects unrelated to Halloween.  With such a diverse community in our school, I try to create projects that are fun and inspiring, with room to create Halloween decorations if the student wishes.  Here are some of the projects I've done in the past and a few I've done this year:


1st Grade: Fall Leaves

Yes, it's a Pinterest idea.  When I saw an example of how to use clear ziploc bags to create a fall leaf snowglobe effect, I was exstatic!  You start with a light blue and brown paper cut 12" x 12."  I demonstrated how to fold the brown paper to cut a rectangle out, which made the frame.  Students then glued tree tops and grass, then glued down little colored pieces for the fall leaves.  The project was topped off with a little person colored and cut out!


1st Grade: Color-Changing Leaves

I start by sharing leave I have found with different colors, like green changing to yellow and red.  The students love to see the leaves up close, and they do say they don't take the time to look at the leaves since they're busy crunching them below their feet!  I use this project to show how to color mix.  With focusing on one set of complimentary colors, students enjoy watching the paint change colors after drawing their football-shaped leaves.  Tempura cake trays are best with cart-pushing and storage.


Kindergarten: Fall Trees

I like to question the students about trees!  I ask the students what parts of the trees were, as well as how the branches just reach anywhere they wish on the top on the tree.  I show the students how to just the strips for branches, and even how to tear the strips to have more fun.  The hardest part is making a bunch of fall colors leaf squares.  I spend some spare time before/after school at the paper cutter and trim enough pieces to last at least two years.  Even though it doesn't show it in this example, I like to ask the students to create a cubby hole in the tree and to draw the animal that's preparing to hibernate.


Kindergarten: Texture Pumpkins
This project was created to introduce the element of texture to my kindergarten students.  I start by showing the students a pumpkin!  I bring in the small baby pumpkins to pass around, and I ask the students if the pumpkin is soft or hard, smooth or bumpy, warm or cold.  After discussing texture, I show the students how to create their own textures on a pumpkin picture with the use of texture plates.  To save on students fighting over certain textures, I pass out a set of plates for each table.  Make sure you explain to the students how they need to color in the entire picture, as well as moving the texture plate over to complete the entire sky or grass!  This simple project was also created with 11 x 17 paper, which was run through a copy machine.  Over 100 copies of my hand-drawn pumpkins for my kiddos!


Choose to create with or without faces!


1st Grade: 3-Dimensional Pumpkins
This project is awesome, except you need to be on your toes with the class.  I have pre-cut strips of orange paper, and give the students four pieces each.  I ask the students to glue two pieces together to make a plus sign, then two other pieces together to make an "x."  Next, I tell the students to glue the plus sign on top of the x to make a star.

After the star is made, I tell the students to take two opposite ends and make an octopus, then to glue each end to the top to create the orange ball.  After the ball is complete, the students have the option to make a pumpkin face and add stems and leaves on the top.


3rd Grade: Pumpkin Patch
This assemblage project is my introduction to the grounds: back, middle, and foreground.  We talk about gluing the background first, starting with the grass line and moon/stars (daytime pictures are an option).  Next, the students design their own fence.  I get a wide range of fences with this project, some with gates open, and some with a  complete fence across the paper.  After the middle ground, the pumpkins are glued to the front, along with yarn vines and multiple leaves.  I ask the students to create three different pumpkin shapes: big, medium, and small to show distance in the pumpkin patch.


4th Grade: Pumpkin Farm
I like to re-visit the perspective idea with 4th grade.  It helps remind them of the grounds, as well as how to create the perspective.  Pumpkins are also easy shapes to draw, and painting is always fun!  I've seen this project done at the second grade level, yet in my school the students were not quite at the level to make something like this.  I show the students how to create the pumpkin circle large at the bottom of the paper, then how to shrink the circle smaller until the circles are time, which will show distance.  I also show the students the perspective house  I introduce watercolors at this level as well, and students practice their techniques working on this landscape.


Kindergarten: Fall Leaves
In this project, I introduce oil pastels and mixed media to the students.  I created leaf stencils from the die cuts in out school, and I've used the same set since my first year teaching.  I ask the students if they ever traced their own hand before, and they get excited when they tell me that they have!  I ask the students to trace at least 4 stencils, then they get fall color oil pastels to color in the leaves (mixing different colors each leaf).  I then have the students top it off with a blue wash for the sky.


6th Grade: Value Pumpkins
I haven't done this project in awhile since I changed the 6th grade curriculum to follow social studies (art history) but I used to buy a pumpkin just for this project!  I would have the lamp on the side of the pumpkin while the students drew from whatever corner of the room they were sitting.  I then taught how to crosshatch for texture, as well as using colors to show light and shadow.  Maybe I should bring this one back...


2nd Grade: 3-Dimensional Fall Trees
Paper sculptures!!!!  I love showing the students how to create a 3-D tree with paper.  I show them how to make a base (two-layered for stability), the how to fold the ends to make roots to glue to the ground.  The students then glue a green top on all the sides, then tissue paper the leaves.  I've had some creative mini ideas from students in this one, from raking a pile of leaves to making pumpkins on the board!


For more fall project ideas, please visit my Pinterest Fall-Inspired Projects Board!

Tuesday, October 9, 2012

A Message from a Fellow Researcher

My dear friend, Heid Lung, is collecting data for her research on the effects of teaching while travelling or teaching from a cart.  Her information follows:

Good Afternoon,

Are you interested in being a part of research focused on the art on a cart practice?  I am excited to announce a web survey is now live.  I am trying to collect as many completed surveys from art on a cart teachers as possible.  If you know someone please feel free to share the link with them or refer them to my research web page at www.artonacartresearch.org where they can access the link as well. The web survey will take approximately 5-10 minutes to complete.  I am also collecting photos of art carts, so if you would like, you can email me a photo of your cart to this email address. 

I plan on presenting the results of the survey at this year’s national NAEA convention in Fort Worth. 

To take the art on a cart web survey click the link below or cut and  paste it into your browser.


Thank you in advance for all of your assistance. 

Heidi K. Lung


Please share the word if you know an art teacher on a cart or travelling from school to school!

Thursday, September 20, 2012

Pinwheels for Peace: A Shared Vision Inspired by Fellow Educators

I loved being inspired and I love sharing ideas.  Every time I go to a convention, an idea is shared, and I want to try it out myself.  Once I try it, I want to share it with others to spread the amazing news about an idea that touches children's hearts.  This idea was called Pinwheels for Peace, inspired by fellow art educator Theresa McGee, co-author of the Teaching Palette.

Pinwheels for Peace was a way to celebrate International Peace Day, which takes place tomorrow, September 21st.  Around the world, children celebrate international peace with their own lessons, projects, and collaborations.

Inspired by the idea, I asked my school's Student Council if they would be willing to assist in purchasing materials for the project so we could have all grades K-6 create their own pinwheel.  This way the students were involved in the making the project happen.  The pinwheel kits were ordered from Oriental Trading.

With International Peace Day being so close to the anniversary of 9/11, I tied the themes in to enhance the idea of international peace.  I found two books I want to share with you that I read to my classes.  The first book (which I read to K-3) was September 12th, written and illustrated by 1st Grade students from Masterson Elementary School in Missouri.


The book shared how students knew something bad had happened, but that everything would be alright.  Seeing this picture, even drawn by a 1st grader, still makes you cry:


I then talked with the students on how International Peace day was celebrated to promote a world without anger and sadness.  We talked about what the students could draw to share their ideas of "peace," and how they can incorporate that into their pinwheels.

Grades 4-6 were read the book "The Little Chapel that Stood" by A.B. Curtis.  I picked up the book while I was in New York for the National Art Education Association's annual convention from the World Trade Center Memorial Site.  I had to read the book at least 20 times so I could handle reading it to the class without drying out loud.  My first class I actually did when I opened to the page about the towers falling.


I also purchased a book that I shared with students when they finished their pinwheels.  It's called Art for Heart: Remembering 9/11.  The book contains images of artwork created by children that lost loved ones from the 9/11 attacks.  My students loved looking at the pictures and asked so many informative questions.


Here are some of the finished products of the week:


                                                The total amount of pinwheels, over 600!


After every students in school created a pinwheel, I asked the Student Council for help again in setting up the pinwheels around the front of the school.  Permission slips were filled out, and parents who dropped their children off stayed take their own pictures.  I was watching the weather report, and behold! the only day of the week it was going to rain was on International Peace Day, so I bumped the display a day early.  I sent the students out to get some pictures while we were setting up, and here are some good ones of the pinwheels:


                                    Yes, a 5th grader took this picture!  How awesome is that?!


If this is an idea you wish to use, it's a shared idea.  While Googling Pinwheels for Peace, I've found many school that have used the idea and share their pinwheels with others around the country.

What will you do for International Peace Day?

Saturday, September 1, 2012

The Crayon Box that Talked: A District Collaboration

Last school year (2011-2012), my district incorporated an all-school read.  We were introduced to the book "The Crayon Box that Talked" by Shane DeRolf on the first institute day, read to us by the curriculum director herself!


There are plenty of videos on the internet, but I found this one to be the best.  Click here to view the video.

After the book was read to the entire district, we were asked to come up with our own lesson inspired by the book...all grades levels, K-8.

When I saw we were to read this book, I was excited to see that a book about art materials would be the main attraction all school year.  I even asked permission to present at the state and national art education conferences on our district collaboration, which will be coming up this next fall and spring.

A district collaboration is great for implementing all of the core curriculum standards and integrating multiple standards as well.  It enhanced literacy, writing, and even mathematics!  And more importantly for me, the fine arts standards were touched upon throughout the entire district.

I wanted to share some ideas that were given to me by the other elementary teachers and specials classes:


This was a great collaboration project with the upper grade levels and first graders.  The students used a venn diagram to identify what makes them unique, then found similarities, which were placed in the center of the diagrams.


In 2nd Grade, the students reflected on what made them unique, as well as how their class was like a box of crayons.


This 3rd grade project was made closer to Thanksgiving.  The teacher shared the story with her students, then had them identify and label in each finger (or feather) of the turkey traits that made then unique.


This kindergarten project was a nice one!  The teacher first had the students draw what a world would look like without color, then had them create the same picture with color!  I love cross-curricular...especially when the homerooms are using art!


The first graders had fun creating a mural of crayons...each one representing themselves!


In band!!!  The students performed their own music inspired by the book itself.  There was even a school musical written by the music teachers!


One of my art colleagues decided to make a color wheel project.  She gave each grade level a color, then had the students draw self-portraits.  After piecing together, the color banner was placed along the wall and stayed up all school year!


Another art colleague created classroom crayons.  She cut out all the crayon shapes, then cut each crayon down to pieces.  Every student in the class received a piece of the crayon to draw their own self portraits.  Once pieced together, each class had their own crayon!  For the all-school musical, all crayons were displayed on the back wall.


And now, here's the one I created:


This was my publicity photo.  The mural was made to cover an entire wall, and all 650 students created their own self portrait to hang on the wall and colored however they wished.  I had the students using multicultural crayons and colored pencils for their skin, then asked them to color the rest their favorite colors and designs.


I loved doing this project.  I was also crying when it had to come down at the end of the year!

The main lesson of the was reflected in the last page of the story.  And as my centerpiece, I wanted to share it as well:


Wednesday, August 22, 2012

The Room is Finished! Art Room Show and Tell!

Alright, it's art room show and tell!  Today was the first day the students came in to meet their teachers and I was in my room in the evening hours doing finishing touches.  I wanted to share a few pictures of what I have done differently (thanks to the world of Pinterest) and why I chose to make the changes.


Here's the entrance to my room.  I share it with the music teachers, hence the shelf filled with instruments.  When I first walked in, I said,"The kids are going to head straight for the instruments!"  There will be a covering during the day to prevent the distraction.  I have four tables to the left, and three tables to the right that are behind the shelf.  All students can easily see me in front and down the middle of the room.  The center table is for demonstrations and materials to be distributed.  The middle cart is my "creation station" for common supplies, like pencils, glue, and scissors.


                                                          Here's the station label!


                                                  Here's the cart with the materials...


                                            Look familiar? Covering the coloring sheets!


                                                           Labeling the Tables
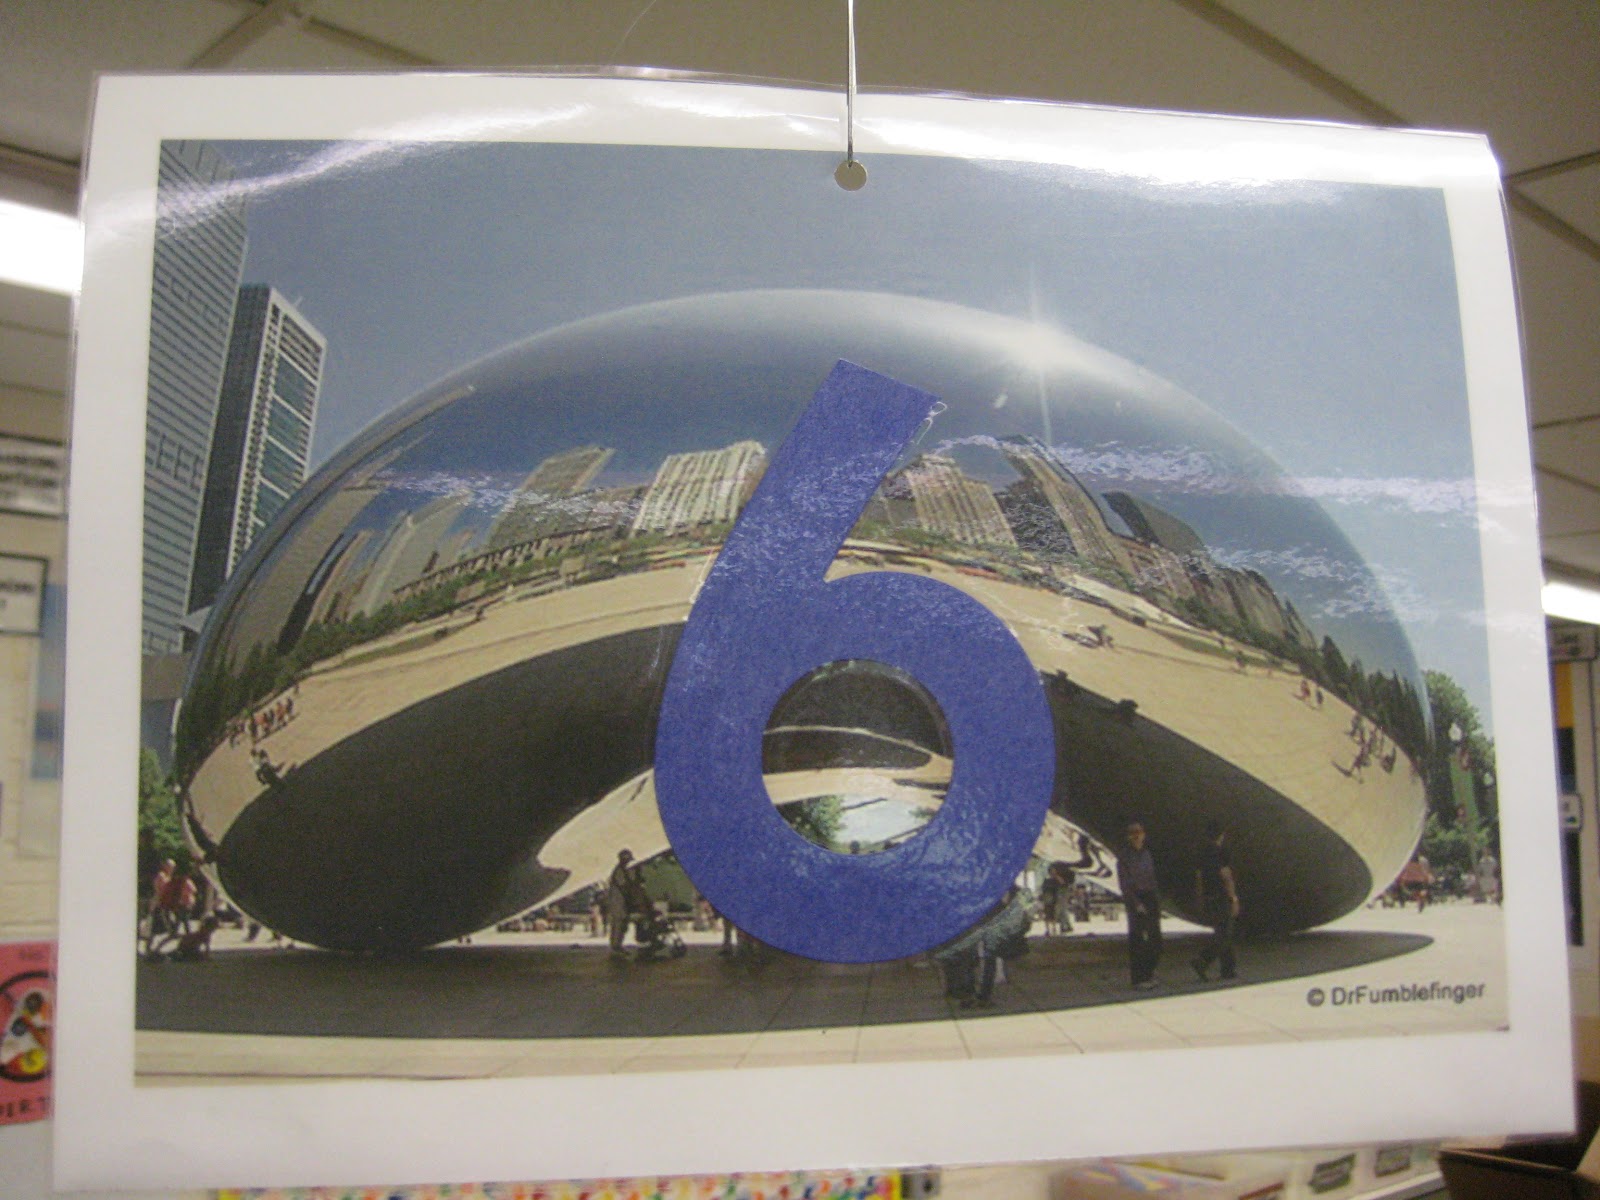
And next comes the table numbers!  Since there were 7 tables, I labeled them with the elements of art!  Can you name each one?


                               Visuals and Displays, aka "Eye Candy for the Art Room"
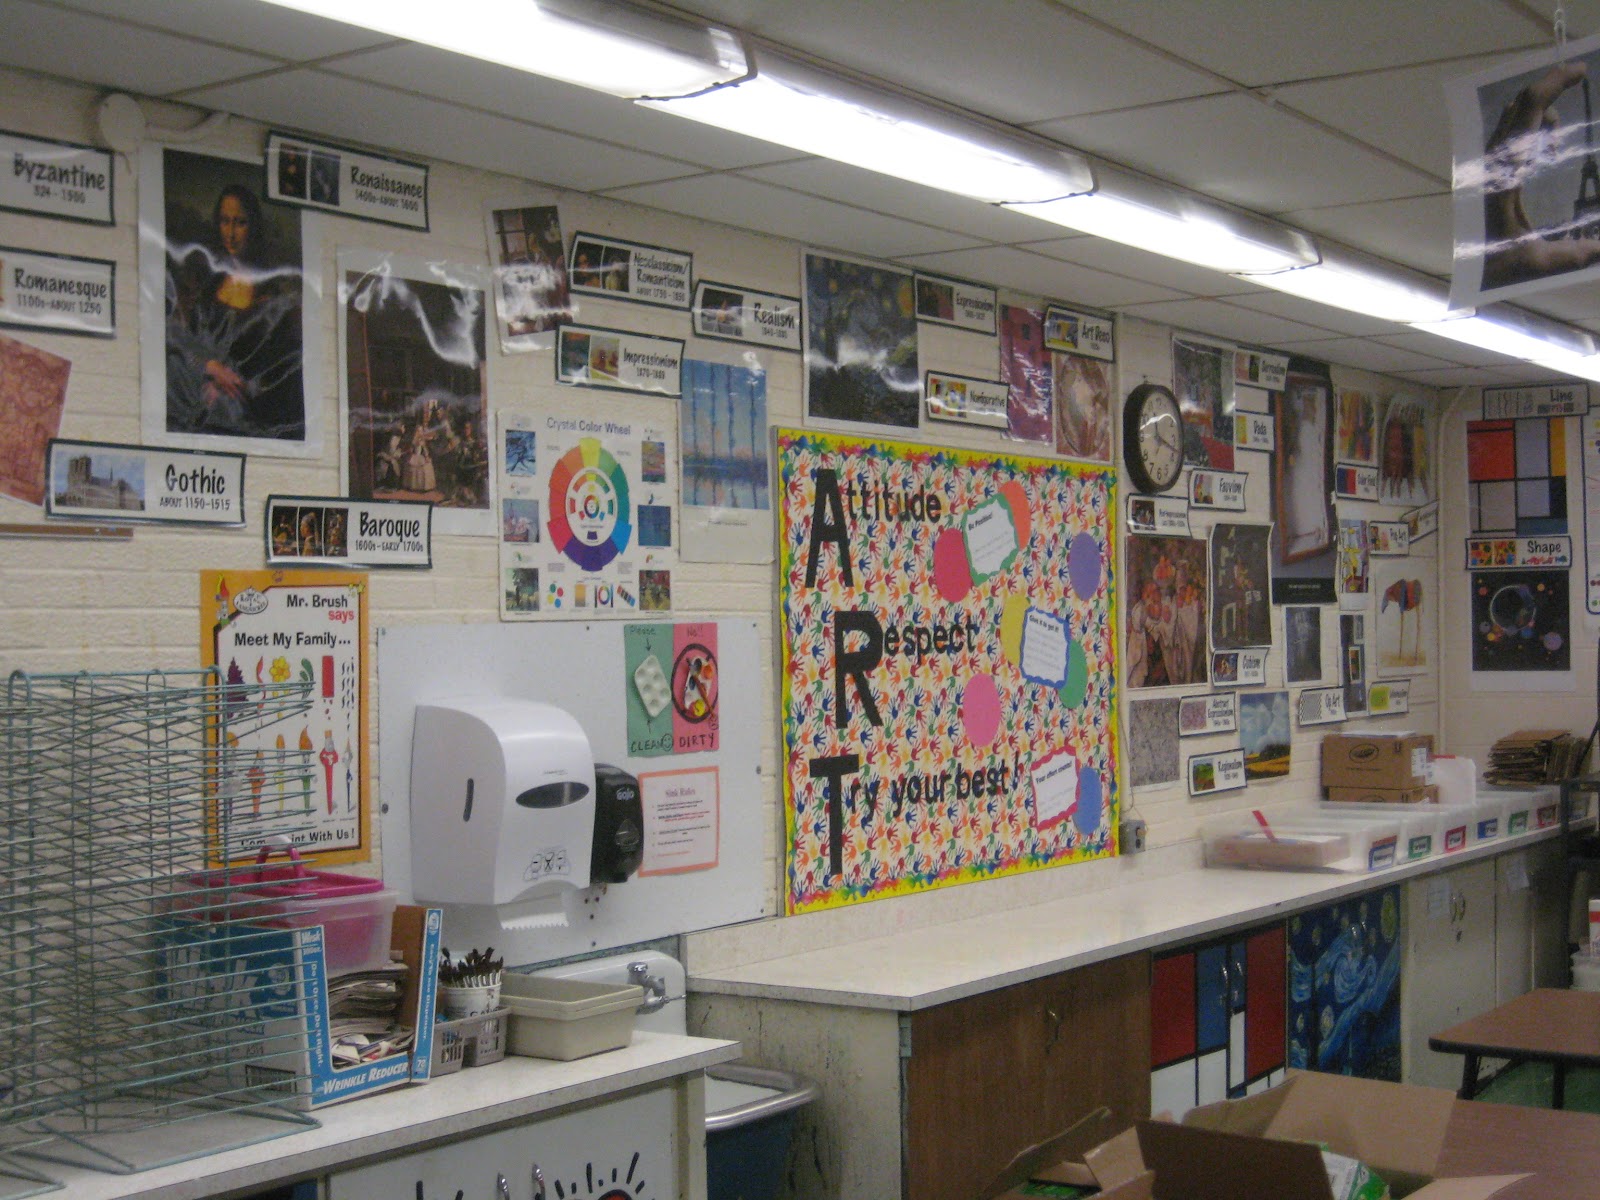
I just can't have a blank wall, it drives me crazy!  With all the space available, I cover it with more visual learning.  The wall below is Art History with examples of each art period:


                                                  Here's another view of the same wall.


                                           My elements of art and principals of design wall


I still haven't figured out this wall.  I hang my favorites, the I need the rest of the space for storage.  Art projects are filed by colors for each day, paper rack is organized!


My desk area with the national board certification plaque to remind me of the hard work it took to get where I am.  I have a technology cart and a cart for taking clay to the kiln room in the Jr. High section of our school.


I love this idea!  I needed some visual examples of what habits I'm trying to get my students to change (like rushing their coloring!)


                                                                     Resources
My resource library is a growing collection, and I'm about maxed out!  The top shelves are books to read, such as children's books about artists, stories about art (like Olivia Paints a Mural), and Visual Literacy.  The second shelf is filled with drawing books, separated by categories and always mixed up at the end of the day.  The bottom shelf is for the younger students: shapes and pattern games and dry-erase boards with markers.


                                                              Personal Touches
   I can't forget to show the doors!  To see each one, please visit my previously written blog posts.


                                                              Welcome Messages
                                                     Yeah, I got this from Pinterest. :)


And this was just the first school!  I still have another school classroom to finish up, but I can give you a sneak peak of what I'm working on!