
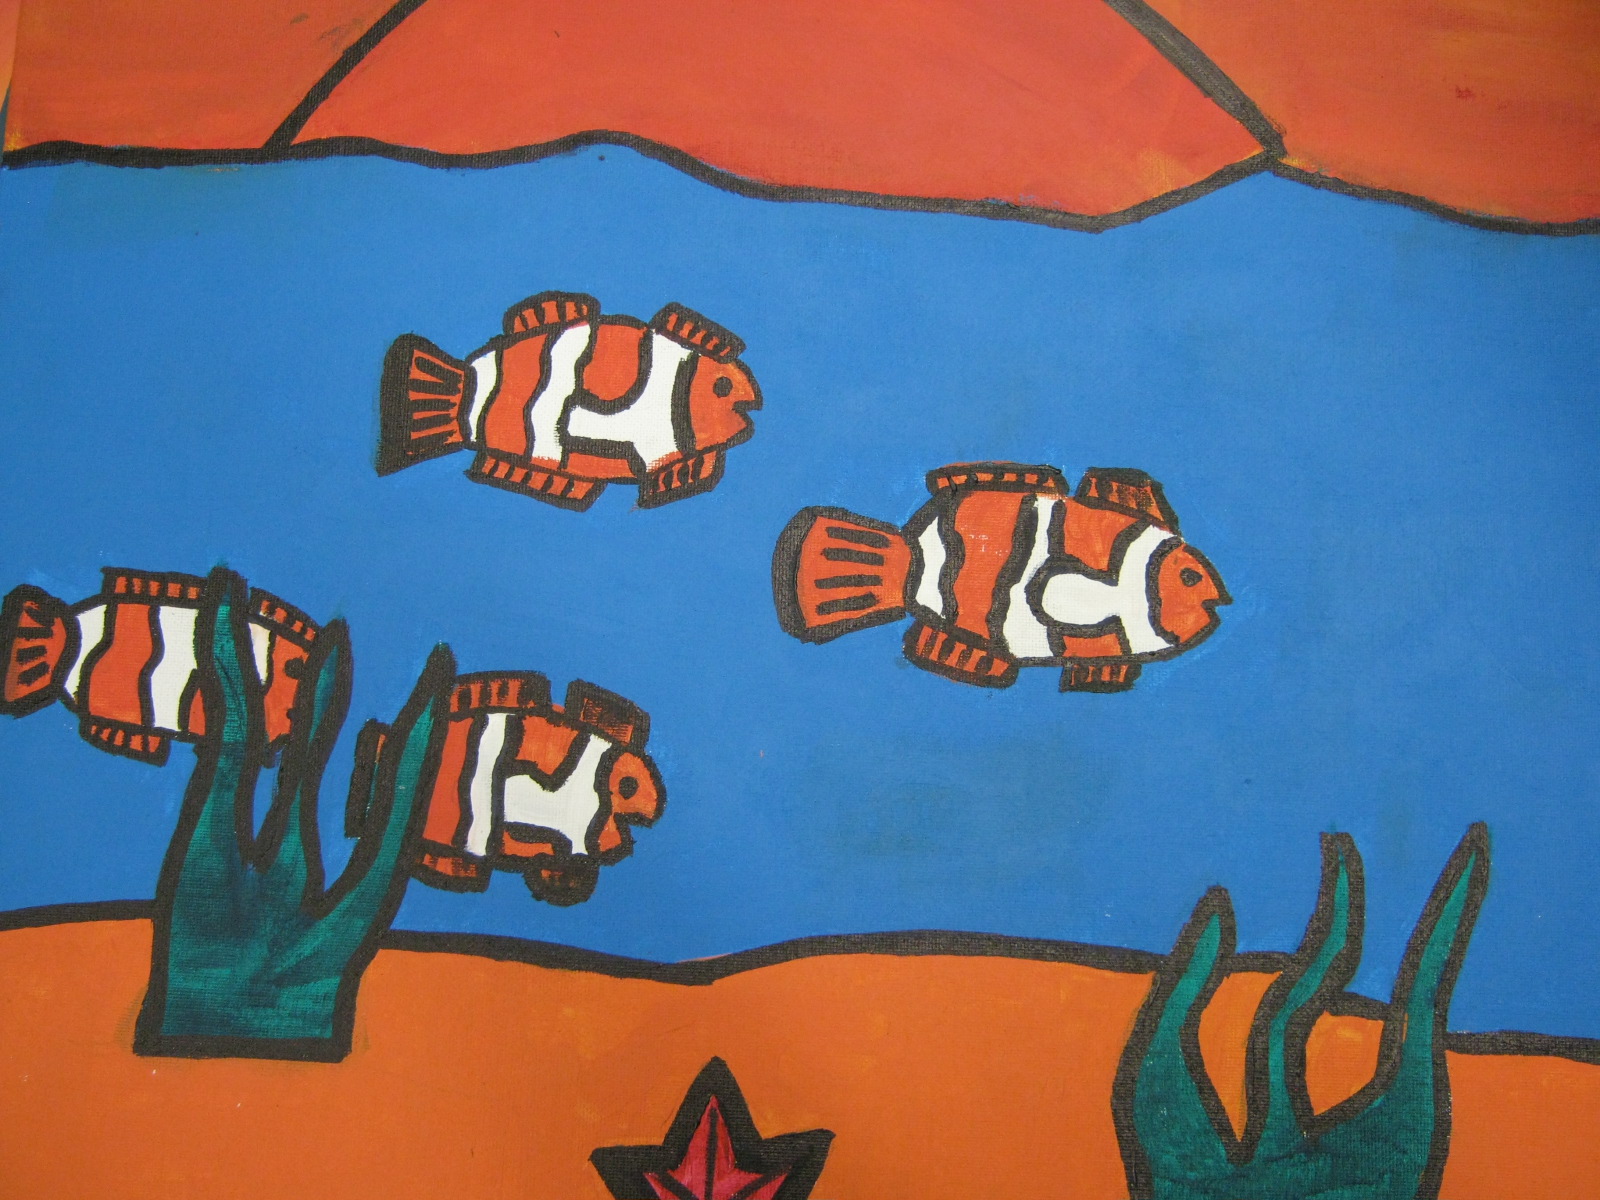
I teach in a district with a wide variety of needs, and with traveling, I see how those needs change from school to school. For example, at my home base school, 80% of my students are from low income homes and the transient rate is high. We can have up to 100 students transfer in or out of our school each year, which can disrupt steady learning. At my second school I travel to, there is a low transient rate as well as a lower percentage of low SES students. I can see a difference in learning styles.
For years, I was afraid to touch acrylic painting with elementary students. I did not feel they were responsible enough to handle a paint the was tougher to wash off. Yet, the material always loomed at the top of my mind because I personally love acrylic painting.
I decided to slowly introduce acrylic painting as an after school class to my 5th and 6th grade students. I limited the class size to 15 so I could have time to individually work with them. I offered the after school class at both my schools (one school was classroom and one school was on a cart, so I asked permission to use a classroom to teach the class). After a few successful years, I felt it was time to finally introduce acrylic painting as a project to the 5th grade.
You know how they say you learn the hard way before you get it right? Here's what I discovered:
I knew acrylic paint does not wash out of clothing...unless you know what you're doing. I should have informed parents and students in advance. As a result, I had many parent phone calls. I also discovered that my students forget to have proper protection from getting acrylic paint on the tables half the time, and it's a challenge to wash off. Clean-up is also an issue. If you just give a class a countdown, they will bump into each other, drop their paintings, get into arguments over who got red paint in their cute sweater, and cause more chaos than you need. Lastly, with extra care needed with washing the brushes, I learned very quickly that if I didn't have a plan, I would lose half my brushes in the first week of the project.
Material Tips and Responsibility (for you and the students)
Here are some tips I use for material responsibility, which totally improved the lesson flow:
1. Send a note home to parents informing them about the materials and how to properly wash it out of clothes. Thank you, Pinterest, for offering additional techniques.
2. Tell the students about the paint in advance. Inform them not to wear their best clothes on art day for the next few weeks. You will be amazed with how quickly a student can turn and blame another if they get one red paint dot on their brand new white sparkly hoodie...now you can say you told them so.
3. Collect a ton of newspaper. Leave a pile on each table, and once projects are passed out, remind students who forgot to put paper under their projects within the first 5 minutes. This will save you a clean-up headache at the end of the class.

4. Use disposable paper plates for your palette. This will save you so much extra time with clean up, and it's much easier to set-up and clean-up when teaching from a cart.

5. Choose your acrylic paint wisely. Crayola bottles are good, but when you get to the middle of the bottle, you need to do the shake and squeeze to get the paint out. Prang bottles are also nice, they poor out faster, but the consistency is thinner. My favorite acrylic paint is Liquitex. I use the tubes for my own personal painting and for after school projects, but for an entire grade, you need more than tubes.
6. Control the paint yourself. If you let students squeeze paint out of the bottles, they will pour too much, which will waste the paint since you can't really put it back in the bottle! When a student runs out of a color, have them bring the palette to you so you can control the amount of paint given.
6. Organize your clean-up techniques. If you have a table set-up in your class, choose one table of students each week to collect water, brushes, and newspaper, as well as washing of the brushes (one table of students is better than an entire class getting up and cleaning) Since I have 5 students at each table, two students collect newspaper from each table, one collects each bowl of water and brushes from each table, and two students to scrub and wash brushes at the sink. I also informed the teachers that two students each week would be staying behind an extra 5 minutes to carefully wash out brushes. This also gives all your students a chance to be responsible throughout the project with clean-up, while preventing everyone from moving around the room. With project collection, the table asked to clean up puts their projects on the drying rack first, then I call a table at a time, saving students from dropping canvases or bumping into classmates.
Everyone has their own techniques in handling different types of paint. I knew in the beginning of my teaching career that I could not handle acrylics with elementary, but after knowing their learning styles and behaviors after a few years, I took on the challenge. Many of you have probably used acrylics with their students in the past, and if you have your own tips to handle responsibility with the paint, I'm all ears!
My next post will be on acrylic painting techniques. Stay tuned!


