Friday, September 12, 2014

Celebrating International Dot Day!


"International Dot Day", a global celebration of creativity, courage and collaboration, began when teacher Terry Shay introduced his classroom to Peter H. Reynolds’ book The Dot on September 15, 2009.
"The Dot" is the story of a teacher who challenges a doubting student to trust in her abilities  to “make her mark”. What begins with a dot on a piece of paper becomes a breakthrough in confidence, which has gone on to inspire countless children and adults around the globe.

To celebrate, each grade level has created a project that is "dot-like."  Once projects are completed, they will be displayed in the halls of our school!

Some projects took at least 3 class periods to complete, but by the end of September, our school will be filled with dots galore!


This is just the start of the many dots to display!


Kindergarten Dot Paintings
Inspired by the artist George Seurat


Materials
-white paper (any size you wish to cut)
-paint dots (can be found in Nasco, Triarco, or Michael's Arts & Crafts in a hurry)

After showing the painting "Sunday Afternoon" by George Seurat to kindergarten students, I shared how pictures can be made just by using dots.  Using "paint dots," students filled their paper with colorful spots! 

Total time: 1-40 minute class period


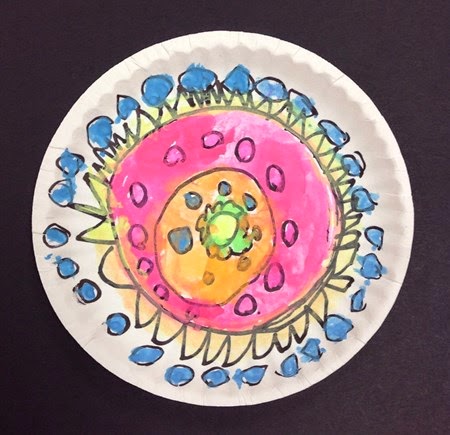
1st Grade Mandala Paintings
(Thank you, Cassie Stephens, for your project idea!)


Materials
-small paper plates
-black permanent marker
-neon tempura cakes
-paintbrushes
-water cups
-table clothes

After sharing mandala designs with 1st grade students, we created our own mandala-like designs within a plate and painted with bright colors!

Total project time: 1-40 minute class period


2nd Grade Abstract Drawings
Inspired by the art of Wassily Kandinsky


Materials
-pencils
-white paper (cut to square)
-black markers
-colored markers
-scissors
-glue
-a round container for center circle

Students were introduced to the art of Wassily Kandinsky.  Wassily used many geometric shapes and creative lines to fill his artwork.  2nd graders were asked to do the same, all while listening to music to inspire movement in their drawings!

Total project time: 2-40 minute class periods


3rd Grade Mandala Drawings
Inspired by sand-made mandalas


Materials
-white paper
-pencils
-a round container to trace circles
-black markers
-colored markers
-scissors
-glue
-square colored paper for frame

Students were introduced to sand mandalas.  As nice as it would have been to actually make one with sand, we stuck with drawing our designs and adding bright colors instead.

Total project time: 2-40 minute class periods


4th Grade Metal Relief Dots
(Cassie, I thank you for this idea too!  I had to try it!)


Yes, you can use coins as examples!

Materials
-cardboard or poster board circles
-foam shapes (when I order them now, they are stickers)
-aluminum foil
-spray glue
-permanent color markers

Students were shown examples of metal relief, like coins and jewelry.  Relief is when you have dimension within a flat piece, which creates texture.  When creating their relief, students used foam shapes for the dimension, then (once covered in foil) colored on top with patterns and designs.

Total project time: 1-40 minute class period


5th Grade Radial Symmetry
Inspired by Stained Glass Window Designs


Materials
-black paper (cut into a circle)
-foam shapes (with or without stickers)
-pencil
-colored paper for frame

Students were introduced to radial symmetry.  Examples were shown of many stained glass window designs, as well as kaleidoscope patterns.  Students created their own radial designs (split into four quadrants) using the foam shapes to demonstrate their understanding.

Total project time: 2-40 minute class periods


6th Grade Zentangle Patterns


While searching on Google, I came across tons of zentangle patterned circles.  This was not my image, but I'm using it as an example of what I wanted my students to create.  So to the original artist, you inspired us!  Thank you!

Materials
-white paper circle
-pencil
-skinny black marker
-zentangle pattern packet with examples
-colored markers
-colored paper for frame

Students were shown zentangle pattern examples and where they may find patterns in the commercials they watch or the clothing they wear.  Students create their own zentangle pattern circles, teaching them patience and care with overlapping patterns.

Total project time: 3-40 minute class periods.  The students LOVED their work!


What did you do for International Dot Day?

Tuesday, August 26, 2014

A New Journey

In April of the last school year, I was asked to meet with the administration.  I knew that many teachers were to be given notice of in-district transfers, and I had a hunch it was possible.  I was in the middle of a Kindergarten project, teaching Dale Chihuly-inspired paper bowls, and my hands were covered with marker.  Unable to get my hands completely clean, I walked into the office anyway, cracking a few jokes about my multi-colored hands with the administration.  

I sat down, and was told they had good news and bad news. 

Starting with the bad news first, I was told that my home base school was losing the art room, which came as a bit of a shock.  This was the first time that school had ever lost the art room! Ever!  After being given the bad news, they shared that I was to be transferred to another school in the district.  The head of our department had retired after teaching 40 years in the district, and they asked me to fill in her spot.  This would mean no more traveling, just one school, and a classroom!

I was very mixed.  I'm of course very excited about this new opportunity!  But at the same time, it's always sad to hear of an art room being taken away.  It happens, it hurts, but we carry on to share our passion for the arts with our students anyway.

So I packed up my boxes at the two schools to be shipped to my new classroom, all while packing the entire art room for the new teacher, emptying every shelf, nook, and cranny.  I did cry when I handed the key over, after all, it was my school for the past 7 years and I enjoyed worked with so many people.

Summer break came and went, and when I walked into my new classroom, I saw this:


Not too bad in the picture, but overwhelming in person!  There's no sink and a tight space to move around, but we can make it work.  We art teachers are kings and queens of improvising.  I was watching all the amazing classroom set-ups all through August on the Art Teachers Facebook Page, and I was inspired to finally get started on my own room!


And did I mention that while cleaning out the storage room and classroom, I found this much glitter????  I saved some of it, but we had a running joke all day because every shelf I looked, I found glitter!  


After 4 solid days of cleaning out, throwing out, and setting up, Viola! I managed to finish the new art room!


There's some hidden bulletin boards in the room, but it's too tight to utilize them.  We work with what we have!


The cart helps separate the materials to be used with each grade level.  


The library's jam packed with artist-based story books, art history, creative fictional stories, how-to-draw books, easy readers, art games, and dry-erase boards.  My students should not have to say they have nothing to do.


Here's what I came up with for a sink.  Each morning I will be filling buckets and jugs with water.  There will be sponges for students to use to clean their hands and their tables.  Dirty water with be collected and disposed of after school.  There is a sink in my storage room (which is not near the classroom), which helps!


Drying racks secured!  Commonly used materials, like scissors, glue, and grade sheets are easily accessible for all students.


Colored pencils, crayons, and markers for projects!


Ooh…rainbow color class project folders to separate the days of the week! 


We can't forget to honor the materials that have brought us great joy in creating.  So sad when they break or dry out :(


 Just a little color wheel reinforcement!


And reminder of craftsmanship and other expectations with their grades!


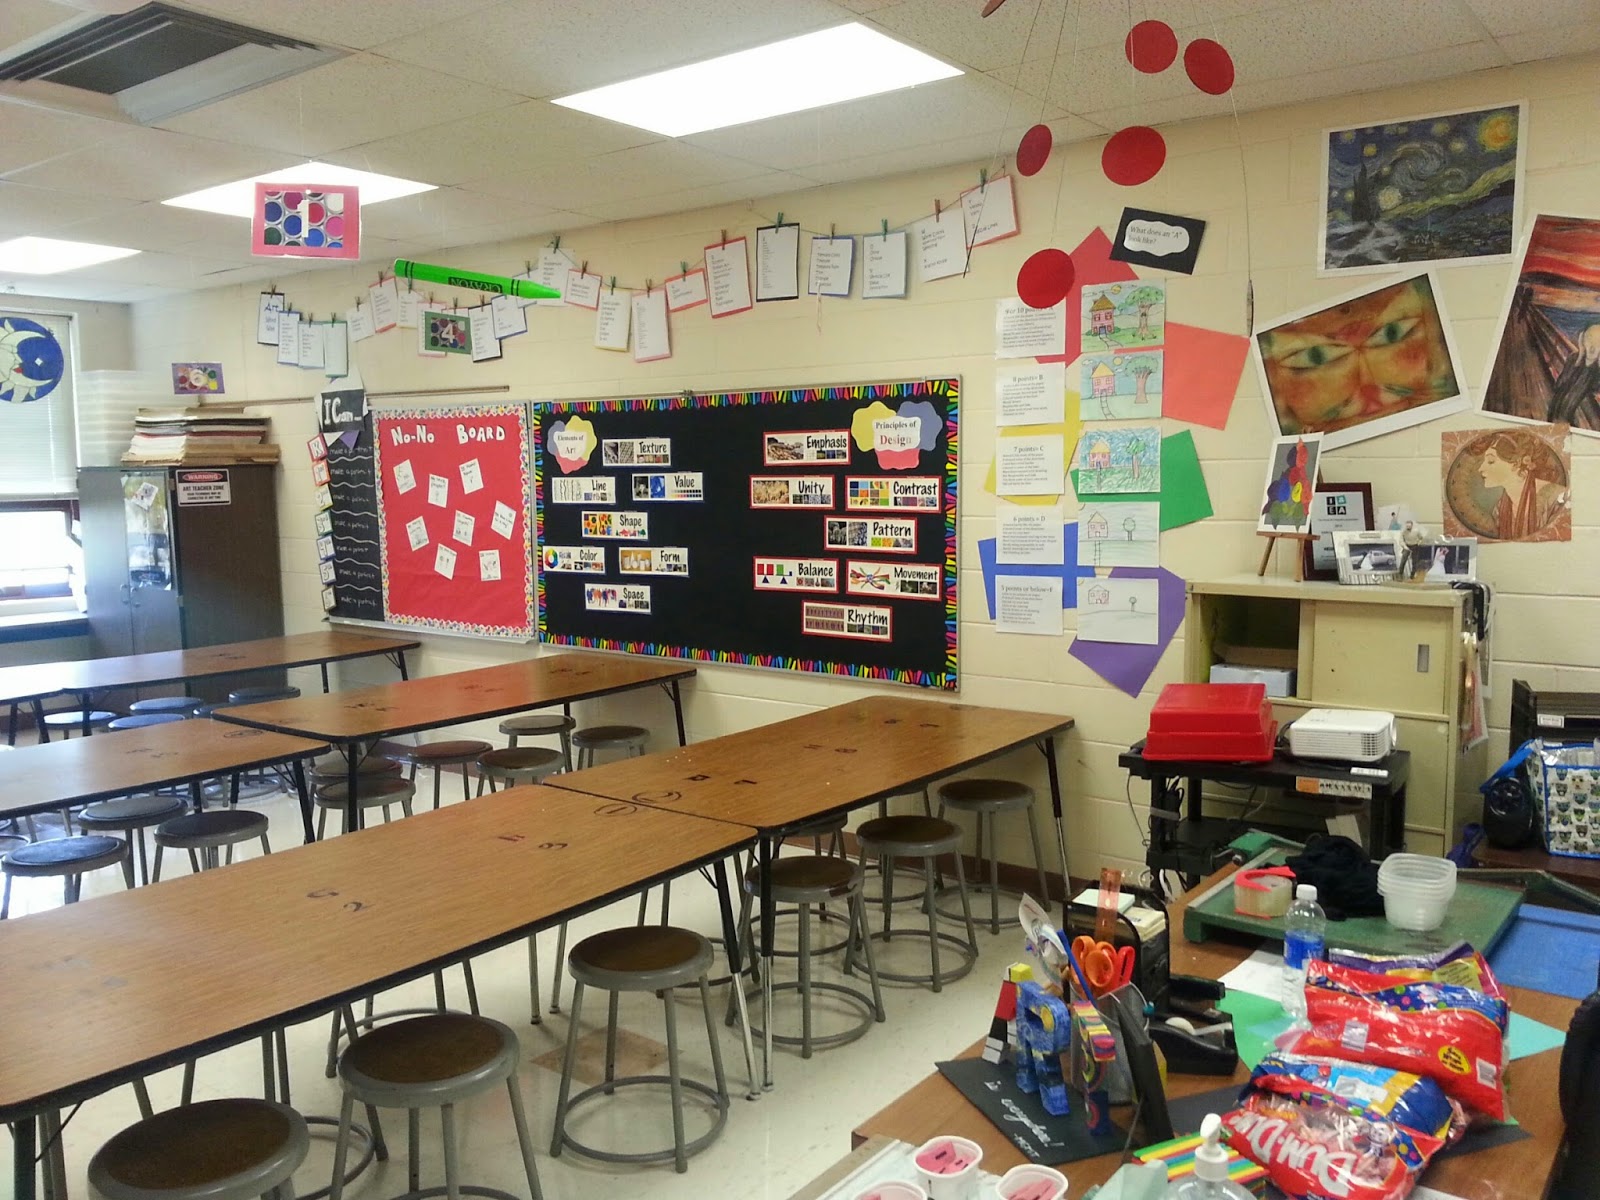
Oh…and the elements of art and principles of design.  We can't forget those.


Can't survive without my no-no board (Thanks Mr. E!)


Some school need to post their "I can…" statements, and our district is one of them!  


And how about that word wall?


 And gluey reminders on how to frame a project for display…


And that's my corner of the room!  I had so much stuff I wanted to display in the past, and now it's all out!


Needed somewhere to hang my #artsed cape…


And show off my art toys…


…and my hand painted desk display!


Had to catch the students off guard with this sign…


Pinterest, thank you for the many classroom ideas for managing tasks.  I owe you one.


Hung in a spot that catches students off guard!


 And to top it off, a new door display to welcome the students to their new art class!


And coming soon, our International Dot Day display!!!

Tomorrow morning, I get my first batch of students ready to learn new art concepts and create inspiring projects.  I'm excited about my new opportunity, meeting new staff, and new students!  I know that the art room may not be around every year, but this year, I wanted to create an environment that inspires creative thinking.

To the rest of my art teacher friends, thank you so much inspiring me and others in our field.  You rock.

Thursday, August 21, 2014

Starting Fresh in the New School Year: September's Stepping Stones


There’s nothing like that excited feeling you get when you walk into your new classroom for the first time.  Your mind is racing with so many possibilities with displays, organization, and materials, and sometimes it’s hard to know where to start!

For the first time this school year, I will be teaching at just one school.  Previously, I traveled to three schools, some years pushing a cart, or teaching out of a cafeteria, or even sharing a classroom.  I will now be entering my new room with a clean slate.  Many of you may be entering into new situations (such as having a classroom, cart, or temporary space) but all of you will be starting fresh for the school year.


I’ve gathered some tips to help you organize your mind while entering into your new spaces.  With so much to do in so little time, it’s best to be as prepared as you can before meeting the students!


Take an inventory of your space.  If you have a classroom, explore your cabinets, shelves, and display spaces so you know what you have.  If you’re on a cart or in a temporary space, search through your storage, your carts, and any spaces allotted to you.  Knowing what you have will help you to better plan your curriculum for the year (plus any supplies you may need to order).  

Gather a list of questions you may have.  When new to a school, you may not know where the mailboxes, copy machine, or teacher resource room are located.  When setting up for the school year, you will find that you need guidance in locating the things you need while setting up your spaces.  

Find a mentor.  If you’ve been teaching for one year or twelve, anyone in a new building will need a little guidance to get started.  Some districts will have a mentorship program in place for you, but if you don’t have a mentor, ask your principal for suggestions in your school. 

Begin organizing your classroom (or carts).  Now that you know what you have, arrange your space to suit yours and your students’ needs.  Keep safety in mind for your space, such as drying rack locations or sink usage.  If you’re on a cart, I found it useful to prepare bins for materials that I can change out throughout the year.


Design your rules and procedures.  From the first day the students walk into your space (or you enter theirs), students should understand the rules you set in place for your art class.  Having your procedures set from day one shows the students that you have expectations for them to follow and that you will be consistent with them. 

Start planning your curriculum.  Some districts may have a pacing guide already in place for you to follow, but many times you may need to plan your own with only the standards as your guide.  Start by making a list of what goals you want students to achieve at each grade level.  

Create examples of all your projects.  By creating a finished example, students can see what your expectations are and in the process, you will learn the steps to show in creating the projects.  If you are in your first year, you will be creating examples as the weeks fly by, but as the years progress, you will be making fewer examples since the previous ones are saved.  

The beginning of the year can be incredibly overwhelming, but with organization, motivation, and time management, you will have an amazing space to deliver your instruction!  Good luck with the beginning of the school year!