

It's time to start color mixing with the Kinders! Painting with Kindergarten is scary, but with teaching responsible behaviors, it can be one the the best classes ever. Kindergarten students always ask in the beginning, "When are we gonna paint?????" After careful planning and explanation of care, it's finally time!
I like to introduce the project and activity by reading the book "Mouse Paint" by Ellen Stoll Walsh. In the book 3 white mice find the primary colors in paint jars and dance around, discovering different colors mixed on their feet.
After reading the book, I go over how yellow, red, and blue can make the secondary colors. Before I get ahead of myself, here's the list to set up:
Materials
-Mouse Paint by Ellen Stoll Walsh
-This amazing activity sheet that I found within Pinterest, and a huge thanks to whoever designed it!

-Yellow, Red and Blue Tempura Paint
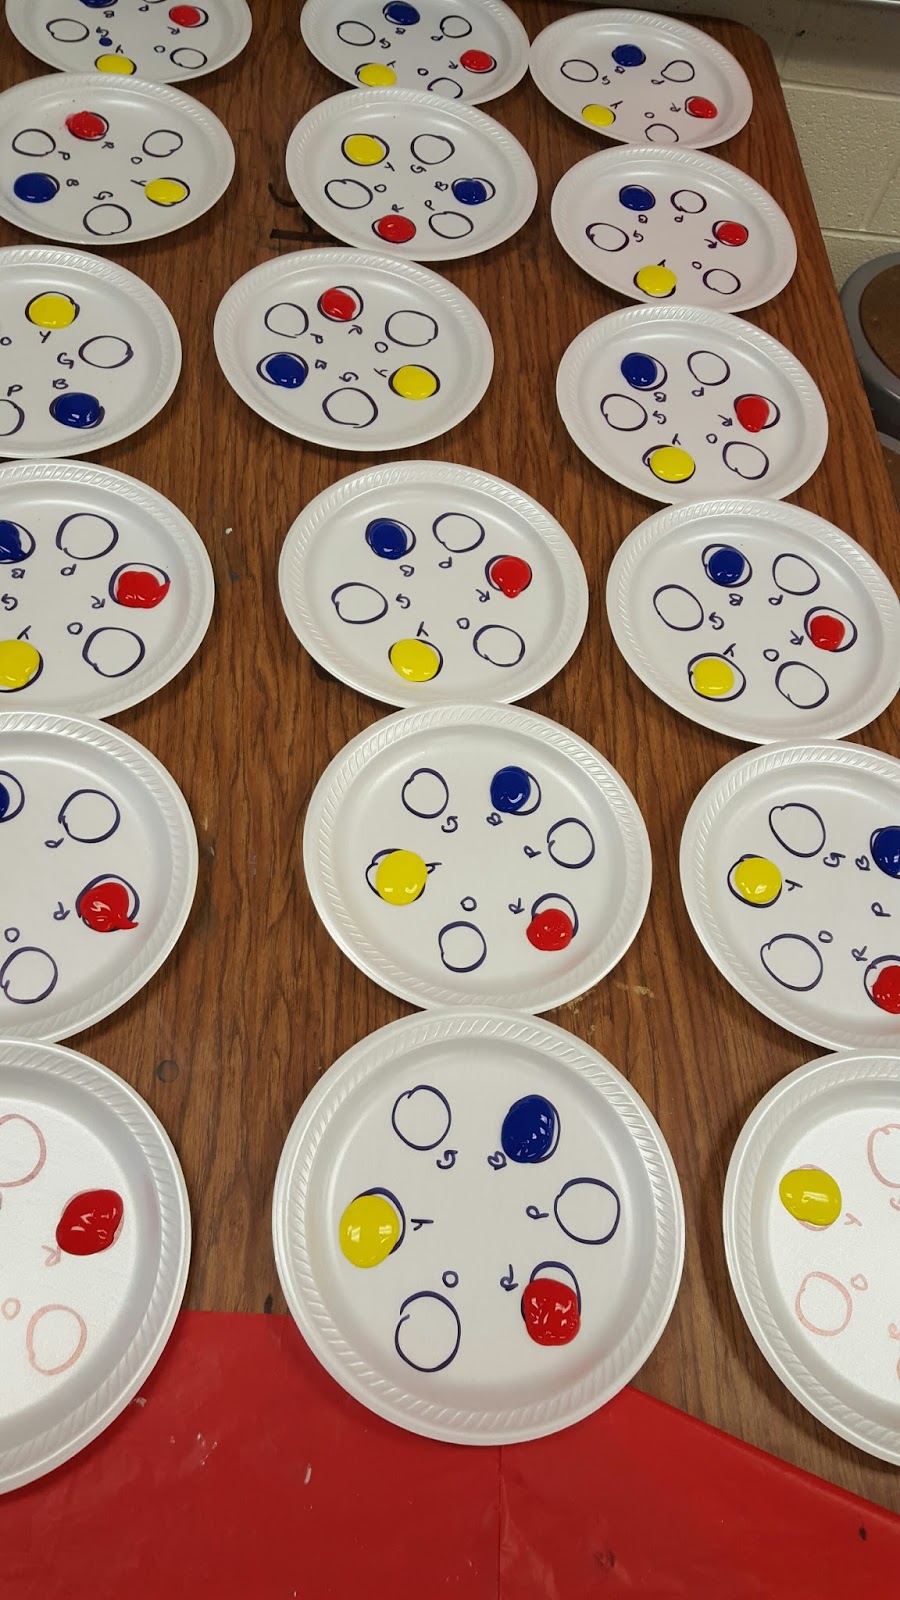
-Styrofoam plates
-Black marker
-Pencils
-Medium brushes
-Water containers and water
-Pre-cut paper towels
-Tablecloths
-white paper
-pink paper
-scissors
-glue
Here's how I set up the plates in advance. I do not have much room to store in advance, so I started setting this up in the previous class. I also drew circles and added the first letter of the color word on the plates to help the Kinders with their color identification.
Objectives
Students will not only learn how to be responsible with painting materials, but also explore how to mix colors to create other colors.
Directions
This project took approximately 2 40-minute class periods to complete.
Day 1: Start off by reading Mouse Paint to the students. Once finished, go over the colors that were mixed by the mice in the story. Show the students the activity sheet to help in mixing colors. Demonstrate how to properly take a small amount of paint to mix the secondary colors between the primaries (if you don't, students will mix the entire plate). Have students complete the activity sheet. Once activity sheet is complete, collect sheet and place a white paper in front of the students. Inform students to create their own painting with the colors they mixed.
Day 2: Since the paintings are now dry, today they'll start making their mice! I created a template of 3 ovals (ran through the copy machine for the amount of students) and had students cut out the ovals. Using pink construction paper scraps, students drew and cut out the ears, and cut a thin strip for the tails. Using a black marker, they drew in the eyes. As easy as this step seemed, you will having students finishing in 10 minutes and others finishing last minute. Have students glue their mice wherever they want on their painting, as if the mice are making the painting!
The one step I would still like to add on is a paintbrush. Since this was my first time with the lesson, I wanted to see the length of time it took to create the mice alone. If I were to add on paintbrushes for each mouse, I plan on having the brown strips pre-cut to save on time with construction.

Here's some finished example by the Kindergarten students!


(This student remembered that at the end of the book, the mice left a spot white because of the cat!)


No comments:
Post a Comment