Wednesday, March 26, 2014

How to Follow the NAEA Conference…From Your Own Home!


The NAEA 2014 convention will be taking place this year in San Diego from March 29-31.  This is how I will be spending my time during the NAEA convention this year:


For the first time since 2006, I am missing a national convention.  With all the extra responsibilities added on this year having baby #2, it wasn't in the cards.  So, as the kindergartener has kindly decorated my view of the convention, I would like to share ways to stay involved with the convention, even from home.

Thanks to the awesome superpowers of social media, live streaming, and online resources, we can keep up with our professional development the best way we can!

#1 Twitter

If you follow #NAEA14 on twitter, you can see all the posts from the many art teachers attending the conference.  They will be adding photos, details, and online links to help followers catch a glimpse of what will be happening during the convention.  There will even be a "Tweet-Up," where you can see the fellow tweeters in this year's red shirt design "Where in the World is our PLN in San Diego?"  Here's one of the awesome shirt designs (thank you to Janine Campbell for the amazing work!):


At last year's "Tweet-Up," we dressed as superheroes for a day!  This was a wonderful opportunity to meet other art educators who are active with the #artsed PLN, no matter what social media network you're on.


#2 Live Stream from The Art of Education

The Art of Ed will be in San Diego!  Their writing team will be posting the happenings throughout the entire convention.  Follow the Live Feed here. A huge thank you to the Art of Ed team for helping many art educators who cannot attend stay up to date with the highlights of the convention!


If you follow on Sunday, March 30th from 11:00-12:00am (1:00CST), AOE will be hosting their "Art Ed Blogger Meet and Greet" at their booth 310.  Some of the blogs are listed on the AOE convention page, so if you have any questions for the bloggers attending, click on their blog links on the page to contact them!


#3 Download the NAEA San Diego 2014 App for Your Phone

You can't go to the convention, but did you know that many presenters will have their resources and handouts uploaded in the app?  Just go ahead and download it from your app store or google play to view what resources are available!


#4 Instagram

Like Twitter, there will be many instagram followers posting their pictures of the convention.  Just use the #NAEAELEM if you are part of the elementary division to follow many photos that will be taken my fellow #artsed member Susan Bivona!


#5 Follow the #NAEA14 Tagboard

NAEA's tagboard is the quickest way to gather all the #NAEA14 tags from different sites.  Just go to https://tagboard.com/naea14 to view all the posts and follow what's happening!

If you're staying home this year and you know other ways to stay involved from the comforts of your computer, let me know how you plan on following the convention!  And although I'm missing this year, I have my baby sitters lined up for #NAEA15 in New Orleans!

To my #artsed friends, have fun in San Diego!

Oh…and you may see a #Flatheidio floating around!  Thank you, Rebecca!!!


Responsibility with Painting: April's Stepping Stones


Do you struggle with managing painting projects, no matter what your teaching situation is?  Every teacher has their own unique tricks up their sleeves when it comes to managing painting projects in the art room…or cart.

It took a few years before I had the courage to teach acrylic paint to my 5th grade students.  I started off teaching acrylics to my after school art students (5th and 6th grade), and created a method for handling the materials.  In my Arts & Activities article, "Responsibility with Painting," I give a few steps to help prepare for painting projects.  These are things I learned the hard way

1. Send a note home to parents informing them about the materials and how to properly wash it out of clothes. 

2.  Tell the students about the paint in advance as well.  You will be amazed with how quickly a student can turn and blame another if they get one red paint dot on their brand new white sparkly hoodie. 

3. Keep a stash of aprons handy.  Many kindergarten students in my schools have their own art shirts, but if you feel they need additional coverage from the paint, aprons help!

3. Collect a ton of newspaper. This will save you a clean-up headache at the end of the class.  Some teachers use tablecloths, but with traveling, newspapers were much easier.

4. Use disposable paper plates for your palette.  This will save you so much extra time with clean up, and it's much easier to set-up and clean when teaching from a cart.  

5. Choose your paint wisely.  Some paints have a good viscosity and can pour smoothly, but others are thicker which causes disruption when you’re trying to shake that paint out of the bottle.  

6. Control the paint yourself.  If you let students squeeze paint out of the bottles, they will pour too much, which will waste the paint (since you can't really put it back in the bottle)!  


6. Organize your clean-up techniques.  If you have a table set-up in your class, you can choose one table of students each week to collect water, brushes, and newspaper, as well as washing of the brushes (one table of students is better than an entire class getting up and cleaning).   If you’re on a cart, choose 5 students every week to do the clean-up duties, and make sure you mark it so you don’t repeat students or leave anyone out!

Happy Painting!

Monday, March 24, 2014

Still Life Pictures With 4th Grade


This project was inspired by the still life paintings of Paul Cezanne.  Paul was a french artist and a Post-Impressionist painter known for his still life paintings and use of color to emphasize tints and tones (highlights and shadows).  I like to push for value around 4th grade, so I felt this was an appropriate project for this age!

Materials
-10.5" x 16" white paper
-12" x 18" colored paper to frame
-Oil pastels (pull out the color black for last)
-Pencils

Objectives
The students will create a "still life" picture and use oil pastels to color in.  Students will show value by using colors as tints and tones (highlights and shadows).

I have students create 3 objects in their still life pictures.  The first object is a bowl.  Students have the choice of filling that bowl with fruit, soup, or ice cream.  The second object is a drink item, like a mug, shake glass, cup, or chalice.  The third object is student's choice: utensils, napkins, and candle holders seem to be the most popular, but I like to encourage choice.

Students have prior knowledge of placement of objects in a drawing, like a cup on the table, not above it.  Watch the students during the drawing of the project so they don't fall into the habit of drawing objects "on the line" and lose their placement or perspective

Directions
This project takes 3-4 days, 40 minute class periods.  

Day one is for drawing.  Students choose their own still life objects.  You can also change it up and add actual objects in the room for students to sketch (if you feel the students can manage drawing from observation).  My class is not set up for an observation table, and with our limited time, I have them draw on their own.

On day 2, I introduce how to create value with oil pastels.  I ask students to choose three colors, a light, medium, and dark (ex. yellow, orange, and red).  Students color in each space with the medium color, then use the light color for tints and dark color for tones.  I do not have students use the black oil pastels until the very end for tracing.

Day 3-4 is for coloring in the rest of their still life pictures.  Some students finish faster than others, so depending on what project comes next, I either create a simple 1 day project or have students start ahead on their next project.

Here are some finished examples!


Sunday, March 9, 2014

Primary Color Mandalas with Kindergarten


A mandala is a spiritual and ritual symbol used in Hinduism and Buddhism that represents the universe.  The basic design of a mandala is a square form with four "gates" and a circle center point.  Basically, the mandala represents the universe.

Kindergarteners are full of energy.  In the art room, they come in excited, bubbly, and barely able to sit in their chairs.  When I explain a bit about mandalas, I share how they are created with lots of patience, love, and care.  When I ask the little ones if they'd like to try and create their own with paint, they get super excited and try their best to sit still.

There are a few things I need to share about this project that correlate with the objectives.  First, I do not paint often with kindergarten because it can get incredibly messy in the blink of an eye.  Everything has to be timed and coordinated since I have classes of 25+ and I'm the only adult.  Their class time is 40 minutes.  Second, I stick with the primary colors because I'm not only trying to reinforce what the primary colors are, but since kindergarten painting can easily mix up (wether you watch the class or not), the paint will look less muddy.  Third, I'm repeating the word "patience" throughout the project.  The students want to rush through and splash the paint wherever they want, but when you repeat the mantra, they actually try to slow down their paintings and make them look nice.

Here's an image I share with the kiddos on how patient this man is creating his mandala out of sand!


Materials
-10.5" x 10.5" white paper
-12" x 12" red, yellow, and blue paper for frame (I glue the white and colored paper together to save a step and prevent extra materials from being passed out)
-Red, blue, and yellow tempura paint.
-Newspaper
-Paintbrushes
-Paper plates

Objectives
Students will create their own primary color mandala, creating a center and designs on all four sides of the paper.

Students will demonstrate responsibility with materials while creating their painting projects.

Directions
I spend 5-7 minutes sharing images of mandalas and describing what the mandala is for.  Also, I review the steps for creating their paintings for the next 3 minutes.  Students will start with yellow painting, then move to using red, then blue.  To clean their brushes, they use the newspaper given to wipe their brush clean, saving splashes and messy water clean-ups. (First 10 minutes of class)

In the next 5 minutes, I pass out the paper with colored frames already glued on.  I put marker bowls on the tables for students to write their names on the backs.  While they are writing their names, I pass out newspaper for them to put under their projects, and paintbrushes.  When students show their names on the back and newspaper under their project, I place the paper plate with the three primary colors in the middle of the tables for students to share.

The next 20 minutes is paint time.  When students finish, they raise their hand.  I take the project and paintbrush, the student puts the newspaper in the garbage and takes a mandala coloring sheets (they use the markers previously placed on the tables to color).  I call this time my "weight watchers activity points" tie because I am moving around the room, and the students only get out of their seats to throw their newspaper away.

For the last 5 minutes of clean up, the paint is mostly done and put away, so students cap the markers, get in line, and we review what we learned!

Here's a few finished products from my students this year!


Looking for a mandala coloring sheet?  Here's a few images I've used from Google:


Tuesday, March 4, 2014

6th Grade Clay Study: Faces with Emotions

My 6th grade curriculum parallel's our school's Social Studies curriculum.  Since students learn about important events on world history, from Prehistoric to the Renaissance, I wanted to show how art has influenced and recorded history as well.

When the students begin studying Greece, they learn about Athens, Sparta, Greek Mythology, and architecture.  I like to focus on the beginnings of theater.  I share how theater was created as an offering to Dionysus, and how the auditorium was designed to help the audience view the performances and hear the actors.


Our main focus was on the masks that make the actors become the characters.  The big question I ask my students is: "How did the Greek actors display the emotion of the characters within their masks?"


We discuss how electrical staging was not invented, so actors had to find ways to project their voices.  We also discussed how hair and makeup effects were also not invented so masks were created to amplify their voices and display emotions of the characters.


Objectives
The students are to create a clay face depicting an emotion.  Students are to show how to remove parts (using clay tools), and add-on pieces of the face (slip/score).

Beginning Ideas
I asked students to start with 8 different sketches of faces showing different emotions.  They did not have to create a drawing that looked like "Greek Masks," which gave the students more choices.  The emotions I listed were:

Happy
Sad
Angry
Surprised
Silly
Frustrated
Peaceful
Dreamy
(I also gave students the option to change one of the 8 suggested emotions for something else if they wished, like Depressed, Shocked, or Apathetic)

After students created their sketches, I had them choose one that would become their clay project.

Materials
-Ceramic Clay, or Air-Dry Clay
-Clay Tools
-Water
-Canvas Squares (to work with wet clay)
-If you have them, rolling pins and slab bars.  If not, use the pals of your hands
-Storage bins or shelf to store projects
-Glazes (your choice)
-Tempura Paint for Air Dry Clay
-Ziploc bags for storage

The Project
I've done this project in both classroom (shared) and cart.  I used ceramic clay in my home base school with a shared kiln (which took a few extra steps), and air-dry clay in my school without a kiln.  The air-dry clay I used was Claystone, grey or terra cotta.

(40 minute classes, once a week with 10 minutes clean-up)

Day 1: Create sketches of faces, choose one for clay projects

Day 2: Begin creating the clay faces.  Use rollers or palm of your hands to flatten out the clay.  Instruct students to trace the shape of the face first before cutting it out.  Store unfinished projects in closed ziploc bags

Day 3: Finish clay faces.  Store open to allow drying.
(If ceramic, allow one week to dry out before placing in the kiln.  Add in a project to start while students are waiting for their fired pieces.)

Day 4: Glazing/painting of faces.

Day 5: Completion of glaze/painting, written reflection/artist statement.

Here are some finished air-dry clay pieces from this year:


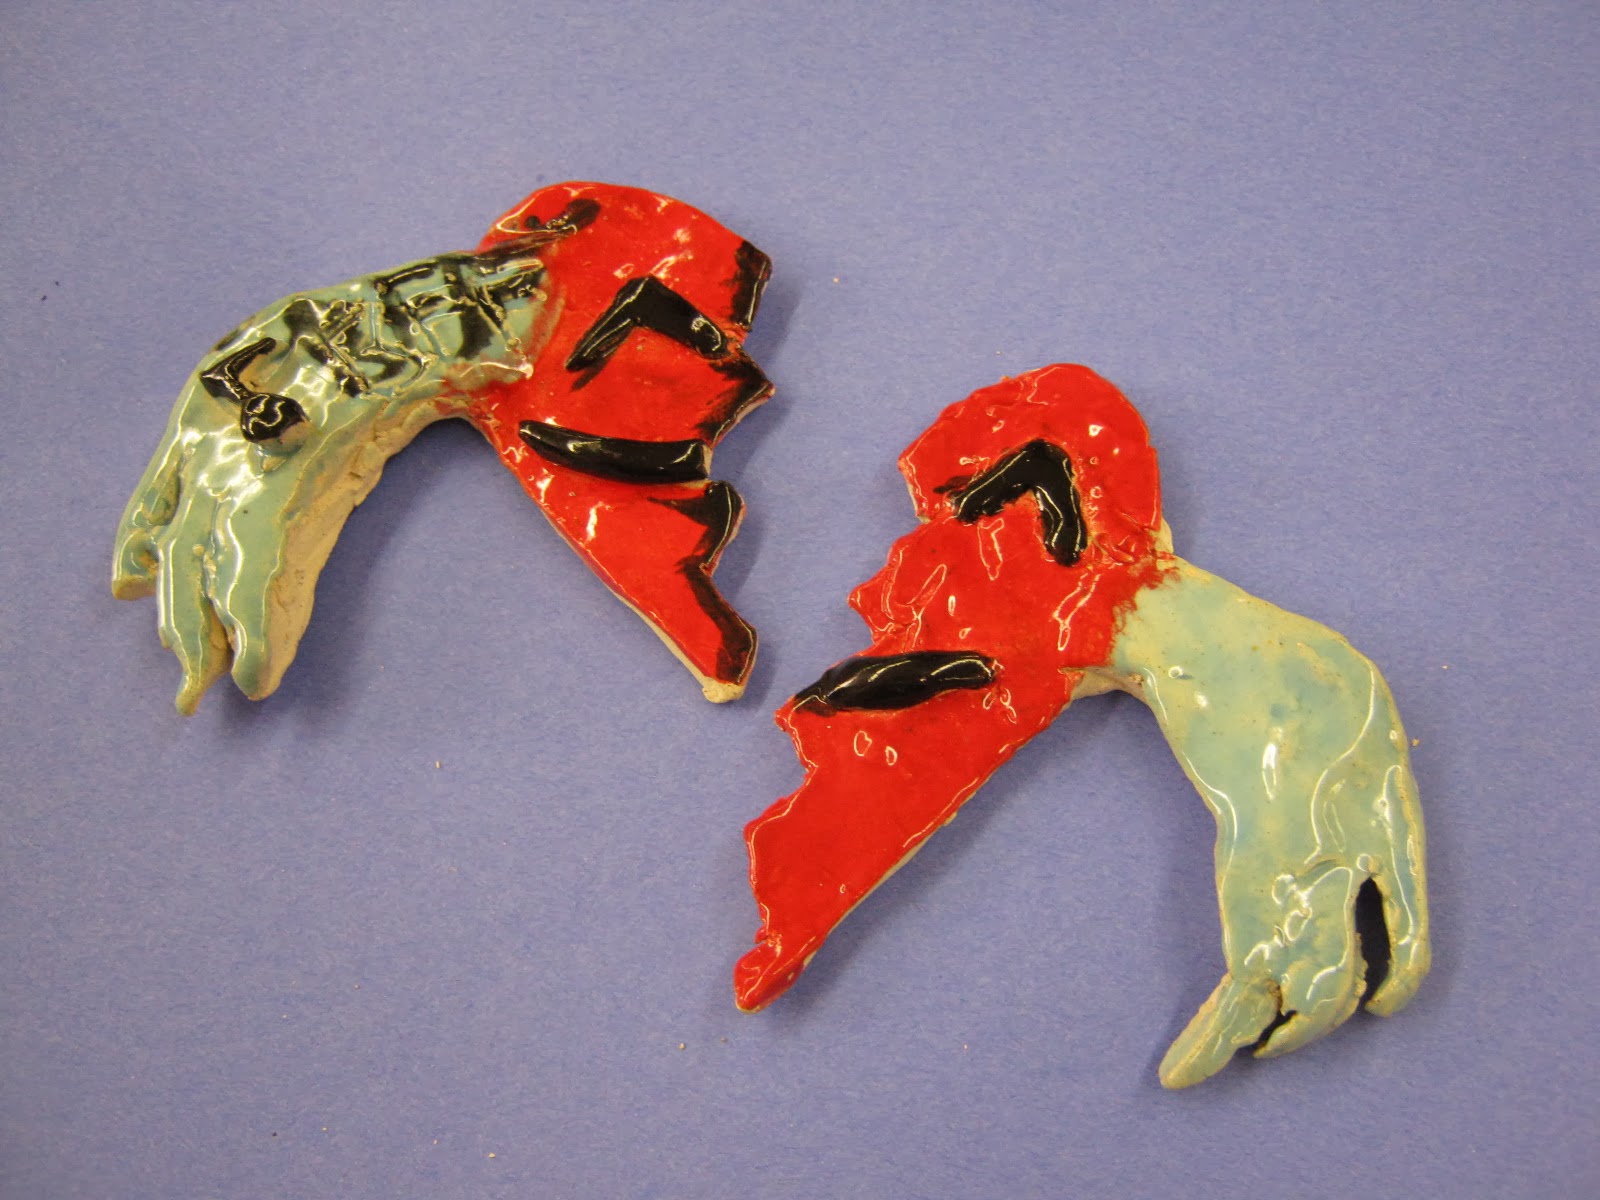
And here are some of the ceramic pieces too!