My 6th grade curriculum parallel's our school's Social Studies curriculum. Since students learn about important events on world history, from Prehistoric to the Renaissance, I wanted to show how art has influenced and recorded history as well.
When the students begin studying Greece, they learn about Athens, Sparta, Greek Mythology, and architecture. I like to focus on the beginnings of theater. I share how theater was created as an offering to Dionysus, and how the auditorium was designed to help the audience view the performances and hear the actors.
Our main focus was on the masks that make the actors become the characters. The big question I ask my students is: "How did the Greek actors display the emotion of the characters within their masks?"
We discuss how electrical staging was not invented, so actors had to find ways to project their voices. We also discussed how hair and makeup effects were also not invented so masks were created to amplify their voices and display emotions of the characters.
Objectives
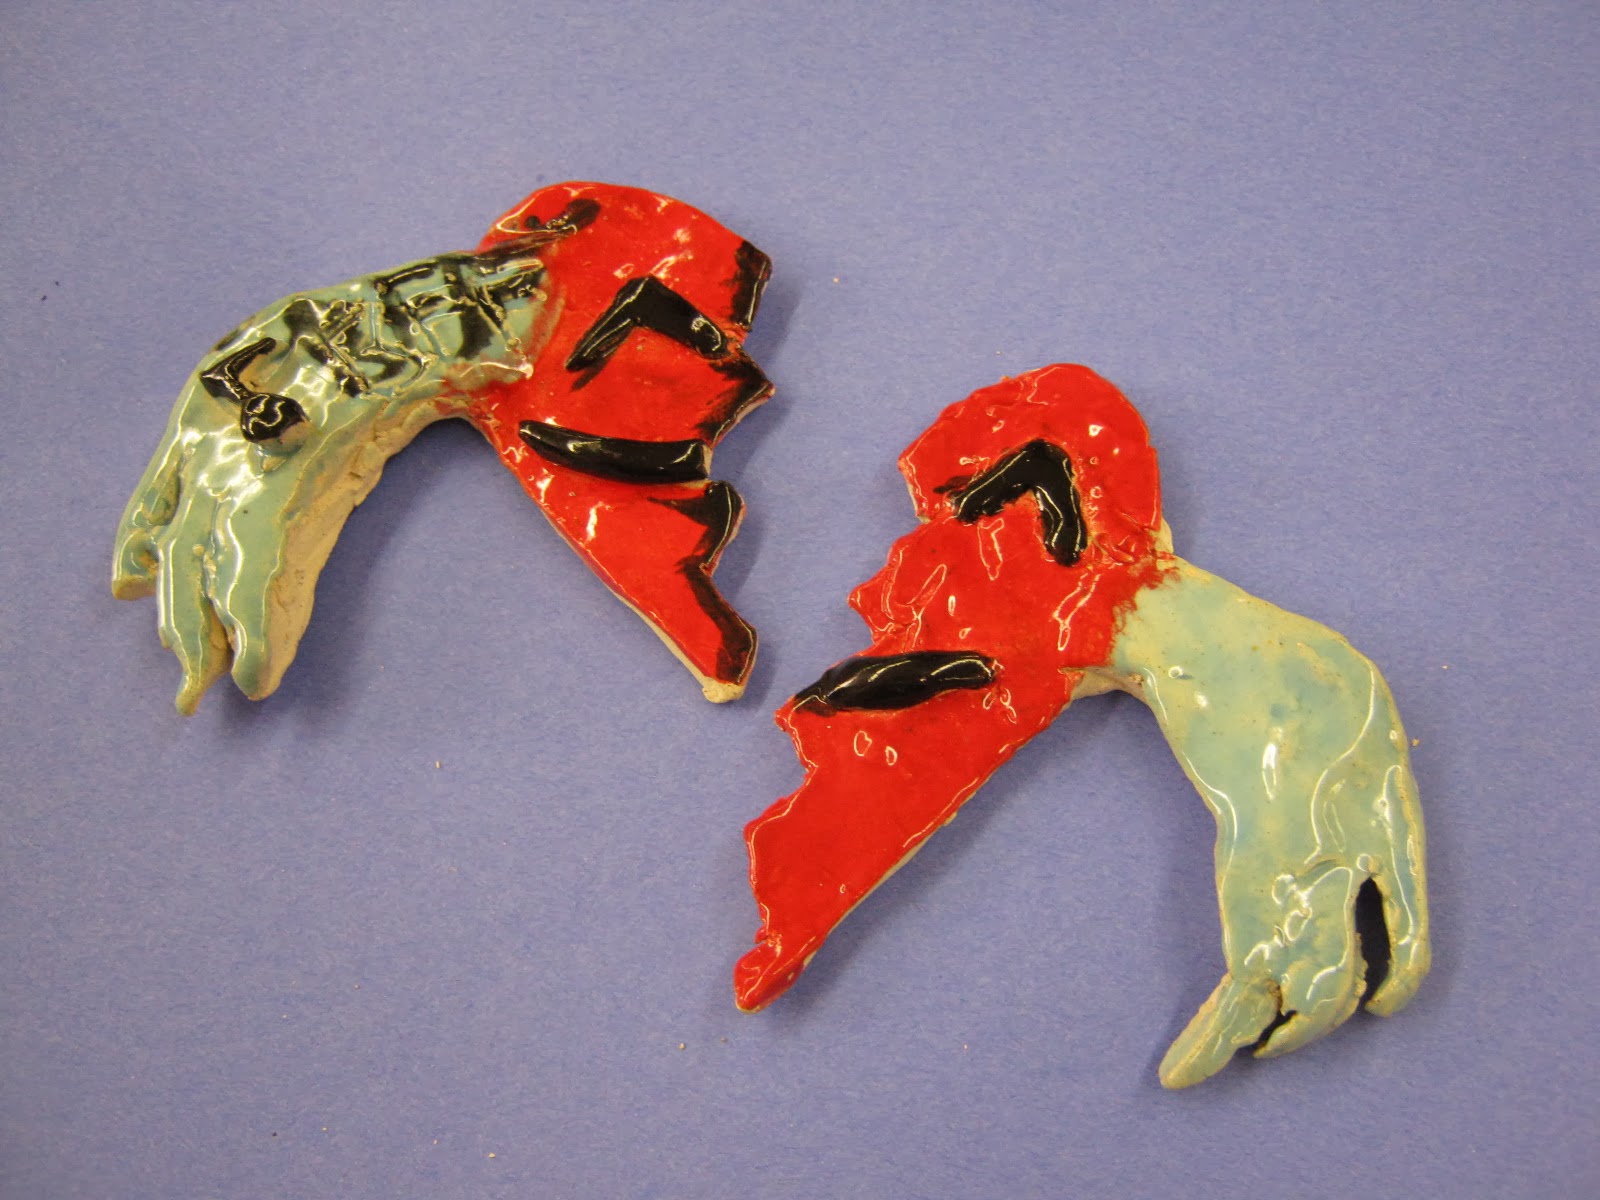
The students are to create a clay face depicting an emotion. Students are to show how to remove parts (using clay tools), and add-on pieces of the face (slip/score).
Beginning Ideas
I asked students to start with 8 different sketches of faces showing different emotions. They did not have to create a drawing that looked like "Greek Masks," which gave the students more choices. The emotions I listed were:
Happy
Sad
Angry
Surprised
Silly
Frustrated
Peaceful
Dreamy
(I also gave students the option to change one of the 8 suggested emotions for something else if they wished, like Depressed, Shocked, or Apathetic)
After students created their sketches, I had them choose one that would become their clay project.
Materials
-Ceramic Clay, or Air-Dry Clay
-Clay Tools
-Water
-Canvas Squares (to work with wet clay)
-If you have them, rolling pins and slab bars. If not, use the pals of your hands
-Storage bins or shelf to store projects
-Glazes (your choice)
-Tempura Paint for Air Dry Clay
-Ziploc bags for storage
The Project
I've done this project in both classroom (shared) and cart. I used ceramic clay in my home base school with a shared kiln (which took a few extra steps), and air-dry clay in my school without a kiln. The air-dry clay I used was Claystone, grey or terra cotta.
(40 minute classes, once a week with 10 minutes clean-up)
Day 1: Create sketches of faces, choose one for clay projects
Day 2: Begin creating the clay faces. Use rollers or palm of your hands to flatten out the clay. Instruct students to trace the shape of the face first before cutting it out. Store unfinished projects in closed ziploc bags
Day 3: Finish clay faces. Store open to allow drying.
(If ceramic, allow one week to dry out before placing in the kiln. Add in a project to start while students are waiting for their fired pieces.)
Day 4: Glazing/painting of faces.
Day 5: Completion of glaze/painting, written reflection/artist statement.
Here are some finished air-dry clay pieces from this year:
In my curriculum, I introduce clay in kindergarten. I start with Play-doh, forming shapes, and showing how to make 2-dimensional shapes into 3-dimensional forms. In first grade, we advance to paper (using strips of paper to form shapes). In second grade, we use Crayola model magic to make simple forms, bug in third grade, the ceramic clay is introduced. Third grade is the year the students become really excited to use this special clay, and learning responsibility with the materials. I start with making coil pots, and the students covet their creations.
In fourth grade, we start to get into more challenging methods with the clay, such as the slab technique. I will go over the previous projects with the younger grades another time, but the focus of this post is with the fourth grade level. I thought of the idea while trying to plan my "Art Over Time" entry for national board certification, and it was a joy seeing the projects come to life.
The materials you need are:
-Ceramic Clay (your choice for your kiln)
-Air dry clay (for teaching from a cart or no kiln available)
-Glazes (I use low fire)
-Clay Tools
-Tablecloth (I use canvas material for easier clean up)
-small cup for water and clay (slip)
-Tempura or acrylic paint
-Paper box template
-Glue
Due to lack of space, I do not use rolling pins or slab stick. I instead teach the students how to use the palm of their hands to flatten the clay (without pounding the clay).
This is also a six week project (40 minutes for a class once a week). With a high transient rate at out school, I provide materials for students to adapt or "catch up" if absent or transfer in late.
Day 1: Introduction to the Project
I start by sharing a Power Point I created about Pandora's Box. I explain the history, the myth, and share the cutest video I found created by a student. When my kids see that someone their own age created an animation of a Greek Myth, they love it even more:
(This is found on YouTube, and I thank the student and teacher who created this animation!!!)
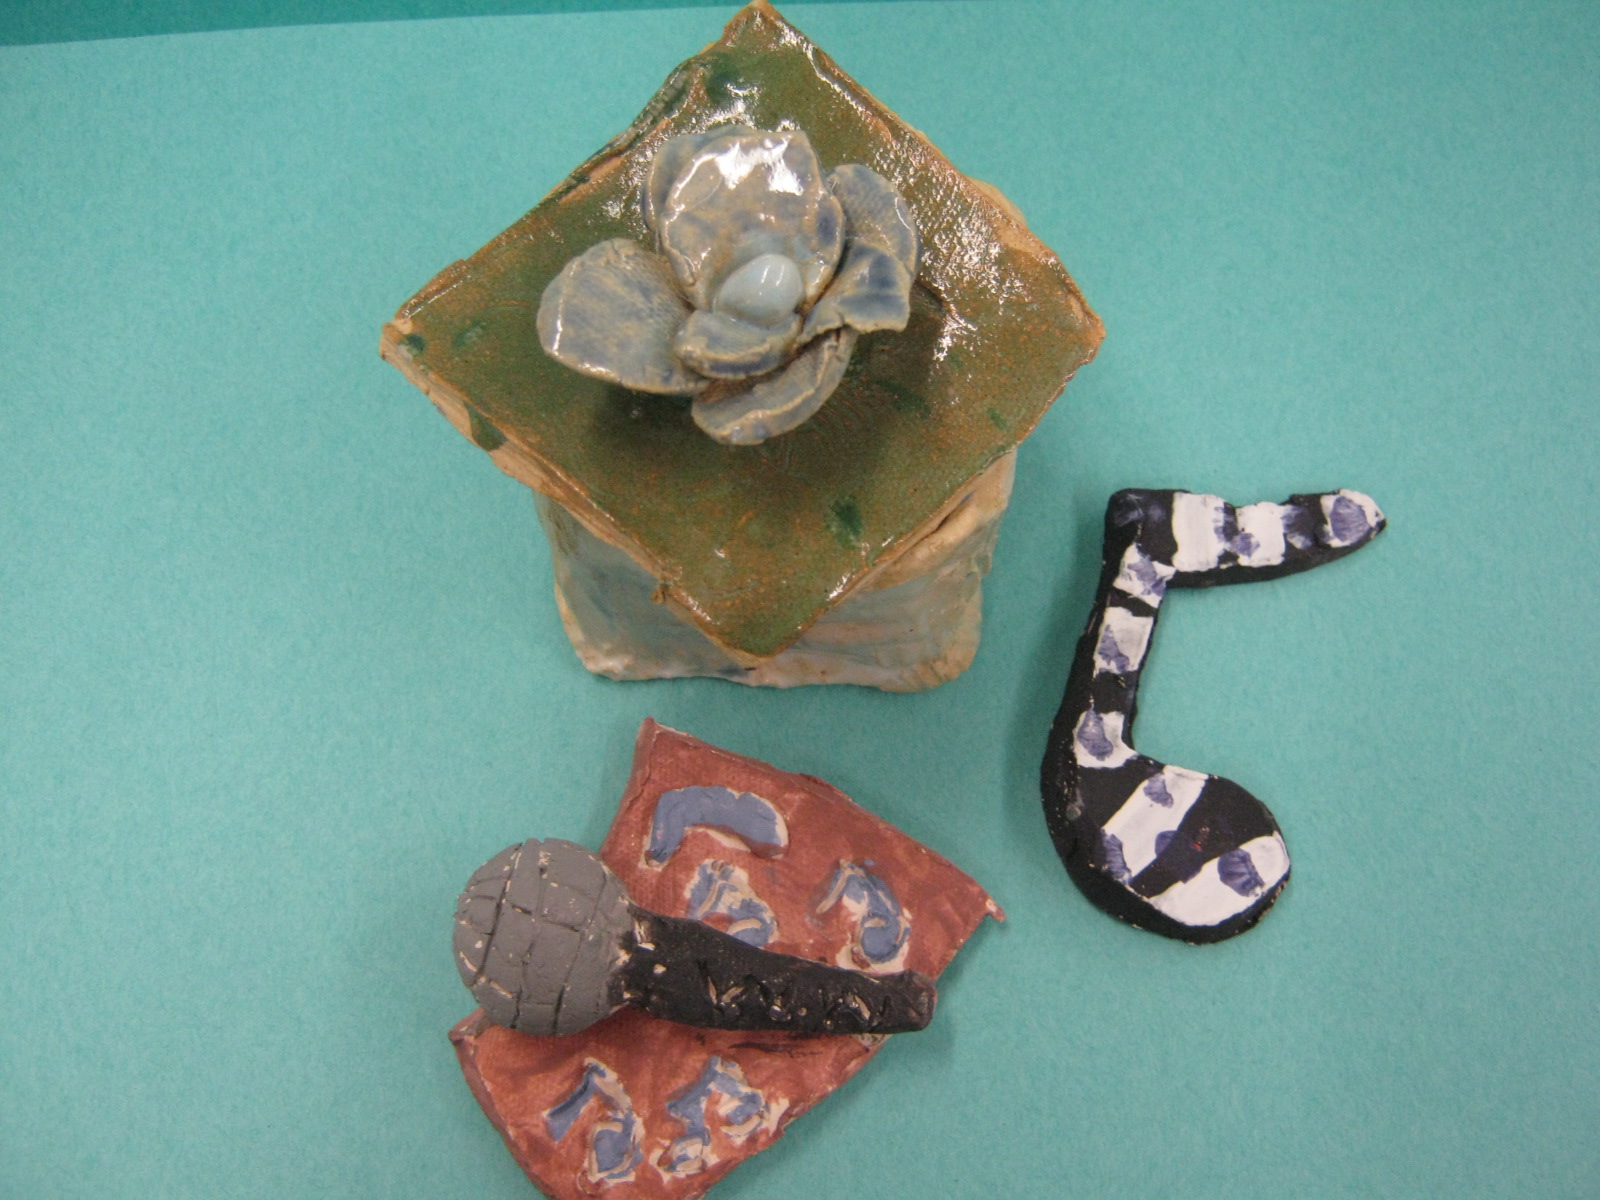
After the PowerPoint, share why the students learned about Pandora's Box: the students will create a slab box from clay that will contain an object of "hope." The "hope" object can be a symbol of something they love or enjoy, such as a pencil for drawing or a music note for music.
With the remainder of the class, I have students practice making a 3-dimensional shape using a square box template. I found a template from Google images, but you can search for your own:
(This image is from another source, you can create your own or borrow this one as I had)
I show the students how to cut the box shape out, then how to fold up the sides and glue together. You will be amazed with how many of your students ace the directions and how many struggle with the challenge. Make sure you help those who need assistance, and offer to those who finish early to help their classmates. When class is over and clean up is finished, I have the students take the boxes with them, even if they didn't finish gluing the sides.
Day 2-4: Creation of the Box and "Hope" Object
The next time I see the students, I review the project objectives. I then demonstrate to the students how to create the slab box design using the slip/score process. After years of teaching this project, I learned that the fastest way to get the box finished is to draw a "tic-tac-toe" design in the clay, which gives you your center base and four sides. I also show how to create a lid the same size as the base of the box by placing a finished box on top of the rest of the flattened clay they have, trace, and cut.
Some students finish the box in one day, and if they're ahead, I ask them to take toothpicks and draw designs in their boxes to add additional details. Overall, it usually takes two days to complete.
After the third day, I take the boxes to the kiln room. In my school I share the kiln with the jr. high, so we plan projects according to when the kiln is available. If a student has not finished the box or was absent, the project is put in the kiln with the objects below after the fourth class.
On the fourth day of project, I share with the students how they can sculpt their little "hopes" out of clay. Since they've had previous experience creating shapes out of clay, I show them how they can make little sculptures or flat shapes with the clay.
Now at this point, if a student has not made a clay object, they use air-dry clay so they will not need to wait another week or two for the clay to come out of the kiln (confusing, but that's how we manage our lessons!)
On the cart, I use air-dry clay for all steps. Instead of glaze, I use tempura or acrylic, depending on the space I have with the materials on the cart.
Day 5: Glazing the Boxes
When the slab boxes and lids come out of the kiln, it's time to glaze. I set up my glazing tables by sets: Warm, Cool, Neutrals, and Stone Colors (rust, peacock, etc.). Students can move from table to table to work on colors, but they cannot move the colors from that table. It's teamwork and responsibility, and knock on wood, I haven't had a broken project yet. (Hint: Make sure you remind the students not to paint the bottoms of the box and lid!!! Especially if you have students that transferred in or were absent.)
When students finish, they go to a table with no glazes and use the resource library I provide with books, how-to-draw designs, and art games.
Day 6: Painting the Hopes
When the little objects are out of the kiln, I always have casualties. Students forget to use slip to join pieces together, or something was made too thin. After hot gluing the breaks, I use tempura or acrylic to paint the hopes. The students know the project is almost done, so once they are finished, I have them write a paragraph about the choices they made about the project. The main questions are: WHat is your "hope?" and "Why did you choose that object to represent your hope?"
Once finished, you can display their work with their paragraphs, which works as an artist statement!




.JPG)