Showing posts with label Fiber Arts. Show all posts

Monday, November 20, 2017

Abstract Felt Collage Inspired by the artworks of Wassily Kandinsky


As the author for the Stepping Stones column, I recently shared that some of my favorite lessons to teach were fiber arts based, but with the time crunches and challenges with storage, I was not always able to work with the materials in a traveling setting.  I did manage to work with yarn, fabric, and other natural/synthetic materials here and there in the past, but like any enthusiastic art teacher,  I wanted to incorporate more within my classes.  There are plenty of projects in blogs and social media sites that have caught students’ interests with weaving, sewing, and other craft traditions, and it makes my heart melt to see all the exciting projects shared!

While pondering the concepts of abstract art, I developed an idea to introduce a felt project with my 4th grade students.  When they were in 2nd grade, they had learned about abstract art and design, but now a few years older, I wanted to revisit the concept by viewing the painting creations of Wassily Kandinsky.  Wassily was a Russian painter who was inspired by jazz music, which is evident in the shapes, lines, and colors applied in his abstract paintings.  


Materials
-9 x 12 styrofoam
-9 x 12 felt sheets of different colors
-Scraps of colored felt
-Stencils of different sized circles
-Markers
-Felt Glue

Objectives
4th grade students will:
-Identify how movement is shown in abstract art created by the artist Wassily Kandinsky
-Demonstrate how to create an abstract artwork with the use of felt

Standards
Creating: Explore and invent art-making techniques and approaches. 

Math Integration: Draw points, lines, line segments, rays, angles (right, acute, obtuse), and perpendicular and parallel lines. Identify these in two-dimensional figures

Directions

On the first day, we began by looking at paintings created by Wassily and discussing how we were able to see the movement within his shapes and lines in his paintings.  In Youtube, there is an animated video called “The Kandinsky Effect” by ManuMeyre that demonstrated how jazz music could influence the way a painting can be created.  The animation was based off of Wassily’s painting “Composition VIII.”  Afterwards, we viewed slides of Kandinsky’s artworks. The students had a blast pointing out paintings that appeared to have been made during a slow or fast-paced moving song.

After talking about how Wassily’s paintings were created with the influence of music, we moved on to discuss how the same idea could be used by creating an abstract collage out of felt and yarn.  This was when the students’ eyes opened up and the questions were flying.  Since it was a new materials for the students to work with. Their curiosity was peaked.  One of the things I like about working with felt is that it’s very forgiving.  The material is easy to cut, plus you can arrange your pieces together before gluing anything down.  Students were asked to create their own abstract collage using the felt and yarn provided.  With this being a new material, students were to explore how to design their pieces before gluing pieces down.  As an added bonus, we listened to music in the background to help inspire their designs!

In demonstration, I reminded students about foreground/middleground/background of layers.  Students were shown how even in Wassily’s paintings, shapes and lines were painted down in layers.  Shapes can overlap or converge to make different shapes!  For the rest of class on that first day, students began drawing and cutting out the shapes for their abstract designs.  They were given a full sheet of felt to glue down on a piece of styrofoam for stability, which also made it much easier for storage on the drying rack for clean-up.  Another tip was with using markers to draw their shapes.  Remind your students not to press hard with the markers when drawing, which can bleed through the felt and show up in the finished products.  


On the second day of class, we revisited Wassily’s work and focused on the lines used within his paintings.  In Composition VIII, Wassily used multiple bumpy and wavy lines to help unify the space in his work of art.  To create the lines in the students’ artworks, we used yarn to bring out some of the shapes and lines within their artworks.  If you’re interested in integration with math, you can identify line segments, rays, angles, perpendicular, and parallel line used within the artworks.

One of the things I noticed with the students was that they love using symbols and shapes they are familiar with.  Here and there, emojis were popping up, flag designs from their heritage, a poke-ball, and all while having fun creating their own designs.  These little pop up designs did not go against any object and I likes seeing how the students enjoyed adding their own little elements to their artworks.  


On the third and final day, students added their finishing touches.  It was their choice whether or not to add a felt frame or additional shapes/lines.  To wrap up the lesson, students described what influenced the creation of their pieces.  Was it the music they listened to in class?  Did they share their interests in their abstract designs?  Writing about their artworks is a good way to have them reflect on their development of their creations!  

Overall, the students had fun!  They talked about how much they enjoyed working with the felt material and creating their own designs.  Students would comment in the hallway how much they couldn’t wait to get back to art to continue their pieces.  If you have a pile of scrap pieces of felt that need to be used, this is a great project to use all your recycled pieces!


Sunday, December 4, 2016

Leap into the Fiber Arts World: December's Stepping Stones


In November’s Stepping Stones, I shared my thoughts on how printmaking was one of my most challenging sets of projects, but I had found ways to work with the materials in the environments I taught in. For this month, I would like to share how I work with some of my most favorite materials, textiles!
When it comes to fiber arts, I enjoy introducing the concepts and techniques and helping students learn the crafts! Prior to becoming an art educator, I worked in textile restoration. I loved working with historic fabrics and artifacts, while restoring and conserving textiles of history. I loved the pre-Columbian tunics, African headdresses, shibori clothes, Navajo rugs, and old America flags. It was through training interns that I discovered my love for teaching!
(My prize-winning ancestry photo-collage quilt from 2006)
1. Fiber arts can be defined as a style of art that uses textiles such as fabric, yarn, and natural or synthetic fibers. This unique style of art focuses on the materials and manual labor involved as part of its importance. Fiber art involves the use of fiber and/or textiles and includes countless techniques ranging from quilting, collage, embroidery, weaving, spinning, knitting, felting, crocheting, recycling fabrics, and even paper.  You see that picture above?  That's me 10 years ago, before kids, with the ancestry quilt my mother and I worked on together.  Prior to being a teacher, I worked in textile restoration  and loved working with fiber arts!
I’ve noticed a recent uphill trend in fiber arts materials used in art classes, as if our historic crafts and processes are making a comeback! Thanks to needle-felting, weaving, and embroidery, students are appreciating many of the old techniques mixed in with new ideas! Here’s a bit of advice I’d like to share when incorporating fiber art projects into your curriculum.

2. Don’t be afraid to try new techniques. Too often I hear from teachers that they do not teach the technique because they’ve never learned them or have forgotten the methods. There are plenty of classes and workshops offered at the state and national conferences that fill up quick! It also would not hurt to take a class at a local quilt shop to pick up on a few sewing, quilting, and weaving techniques. You may even know a friend that can teach you how to knit for free! The more techniques you learn, the more you can spruce up your lessons in your classes.
(This project was inspired by the teacher Cassie Stephens in her blog.  You can find the lesson here.)
3. There is always a way to catch the students’ interests. Have you ever had a group of students that frowned when they heard they were weaving? In many cases, I hear from boys that they think the weaving technique is “for their Grandmas.” I enjoy changing their minds. My trick is reminding them about the “Survivorman” shows and how people use weaving to create bedding, roofing, and other survival materials when out in nature. It’s fun to see their eyes light up as if a light bulb went off in their head! Explaining how certain techniques are life skills changes the game. Many times after a project is completed, students bring back paracord bracelets, pot holders, and woven bags they made on their own after taking an interest in a project created in class!
(My mom sharing her hand sewn quilt, chosen as "Mayor's Choice" in our town.)
4. There are plenty of opportunities to invite local artists. You know whom I invited into my classes to show off her quilts? My mom! In watching her making so many beautiful quilts throughout the years, I picked up on a love for the craft. Students love to meet local artists and view handmade items in their classroom, plus I show off my Victorian crazy quilt! If you know anyone who lives local to the school and created fiber projects as a hobby, consider inviting them for a day to share their works of art! Another wonderful resource is using Google Hangouts to meet artists around the country! You can easily set up a hangout with your class to ask questions and share works of art over the webcam.

5. You’re passing the craft to the next generation. We may not rely so much on quilting, embroidery, or weaving techniques as much as our ancestors had in the past, but it is important to keep these skills alive and to pass them on. Fiber arts have a very rich history and importance not only in our country, but worldwide. From the brightly colored Kimonos of Japan to the tapestries of Europe, students can appreciate the techniques used in preserving history.
(Lesson ideas from Dynamic Art Projects for Children by Denise Logan)
6. Experiment with what’s appropriate with each grade level. You would not want to start introducing quilting to kindergarten students, but you can introduce lace boards to help with fine motor development! If you are unsure of what type of fiber arts projects to introduce to your grade levels, consider researching your options. Explore blogs, ideas pinned on Pinterest, and social-media PLNs (Personal Learning Networks) to find lessons appropriate for different grade levels and try them out in your own classes!

Friday, February 13, 2015

And Today's Special Guest...Mom! A Project Inspired by the Keeping Quilt


One day, I was walking past the 4th grade classrooms and noticed the students were reading the story called "The Keeping Quilt" by Patricia Polacco.  The homeroom teachers were doing class book cover contests, paper quilt patterns, and written responses inspired by the book and hanging their work in the hallways.  I was so excited when I saw the work they were doing, I asked if I could join in the fun!

Now for a little back story, before I was a teacher, I was a textile conservator.  In art school, I focused on the fiber arts, combining traditional methods with modern technology.  I would print photos onto fabric and create "story quilts."  This one below was created over 10 years ago for my grandma!  We added photos of our ancestry into one quilt!


So back to the story, I joined with the teachers in doing a quilt project of my own, inspired by The Keeping Quilt and an artwork by Gustav Klimt (titled Baby) seen below:


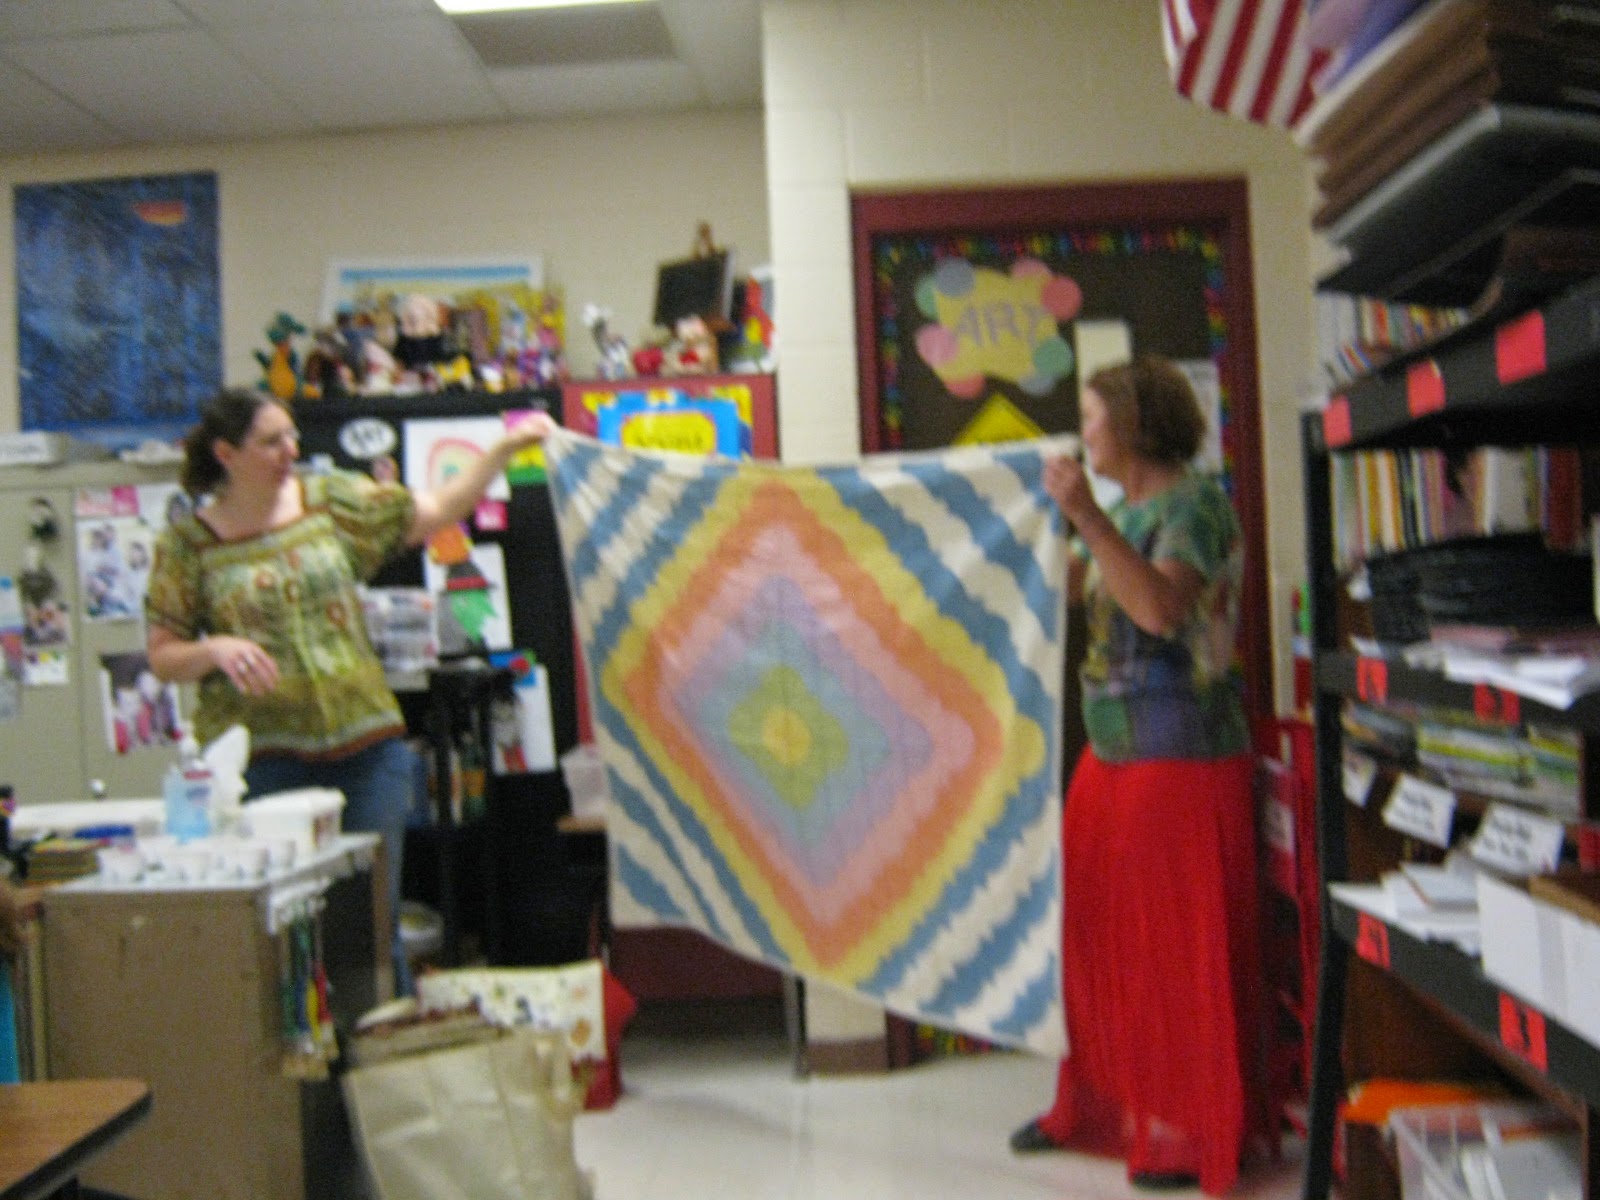
On the first day introducing the lesson, I was talking with my students about quilts and patterns while demonstrating the motions of the project.  I was sharing how I learned how to quilt from my own mother, and the students started asking if they could meet her!  Since my students were so interested, I invited my mom to my 4th grade class!  Here's some pictures of quilts she had made herself!


My mom has been making quilts since I was a baby.  She's been part of a local quilt guild for years and has made over 20+ quilts over the years.


She explained to the students the process of appliqué and embroidery, and how quilters hand stitched piece by piece before modern technologies.


This is one of the first quilts my mom had made.  It was my brother's baby quilt!


This one is a story quilt made by all her guild members.  Each member created a block of their child's favorite childhood story book.  The pieces were combined together and quilted, then hung in their local library.

Thank you, mom, for coming in and sharing your works with my students!

Now the project I shared is a familiar one I've seen from a few different bloggers on Pinterest.  Arts and Activities had also shared a similar project, which you can find here.

Materials
-10.5" x 16" white paper, about 60# weight
-12"x 18" colored paper for frame
-Black permanent markers
-Watercolor paint
-Brushes
-Pencils

Objectives
After reading "The Keeping Quilt" and discussing the artwork Baby by Gustav Klimt, students create a drawing of themselves sleeping under a quilt.  The quilts were to be filled with different patterns, then painted with watercolors.

Once completed, students reflected on their work by writing what their future dreams were and what they had accomplished with their project.