Showing posts with label 4th Grade. Show all posts

Thursday, February 8, 2018

Artists That Inspire Us: Clay Vessels (Inspired by Ceramic Artist Melissa Monroe)


Meet Melissa Monroe. Melissa is a lifelong Illinoisan, having been raised in Galesburg and now living in the Chicago suburbs with her family. She sells her ceramic art at shows in the Chicago area and at fine stores and works with chefs to create custom dishware for their restaurants.

“When I started working in clay in college it was impossible to predict the places it would take me. It has been fun journey of farm dinners where I provide dishes, the art show circuit in Chicago, and gallery shows. As I have grown in my work I find my creativity divided into two camps: the functional and the sculptural. My functional work has become focused on working directly with customers creating custom plate ware for their homes and businesses. I love to sit down to a day of throwing and trimming all of these commissions and getting the satisfaction of the matching sets of bowls and plates. The second part of my art is the creative sculptural side - making wild abstracted flowers and sculptural vases, bottles and jars. These are the objects of imagination and whimsy. I hope that both of my camps of artwork provide a connection with each person either in daily use or visual connection.”


Melissa is a friend and artist colleague from my home town. I've had the joy of working with her for our local artist guild and is this year's featured artist for our Illinois Art Education Association's Mosaic Magazine. Melissa is an artist that inspires me, so I decided to share her work with my 4th grade students.


The Project


Inspired by Melissa’s style of ceramics, students will create their own clay vessel displaying a face. This will be done by using the slab technique for ceramics.


Materials

Ceramic Clay, Water, Glaze, Canvas, Clay Tools, Rolling Pins


Directions
This project will take about three 40 minute classes for creating and glazing, and one 40 minute class for assessment and artist statements.

Day 1: Introduction and vessel design. Students are shown a slideshow featuring the artist Melissa Monroe, as well as the artworks she created. After a group discussion about her style of work, the teacher demonstrates how to create a vessel using the slab technique. Students are given a portion of clay and instructed to take ¼ of the portion to roll into a ball and press down to make the base. With the remaining clay, students use a rolling pin to roll the clay out to a slab that’s ¼” thick. Next they are to draw a long rectangle in the slab, cut the remaining clay away, and wrap the slab around the base. Once the slab was wrapped, students marked the bottom of their vessels with their initials and wrapped their projects for the following week.

Day 2: Details and finishing touches. Prior to students receiving their projects to finish, they are shown how to attach facial expressions using the slip/score process. Similar to Melissa’s designs, students add eyes, nose, mouth, eyebrows, and any designs that show expression. Once completed, students handed in their projects to dry over the week. A week or two is needed between days 2-3 for clay to dry and fire in the kiln.


Day 3: After clay is fired, students are shown how to apply glaze to their pieces. Projects will go through a second firing


Day 4: Chromebooks needed to visit Artsonia to write artist statements (or create your own method of writing artist statements with students)

Here are the finished art pieces!  The lesson plan with standards will be available in this year's printed Mosaic Magazine for IAEA members.


Art Teacher Blogs

This post is a part of The Art Ed Blogger's Network: Monthly Tips and Inspiration from Art Teacher Blogs. On the first Tuesday each month, each of these art teacher blogs will post their best ideas on the same topic.

Participating Art Teacher Blogs:

Monday, November 20, 2017

Abstract Felt Collage Inspired by the artworks of Wassily Kandinsky


As the author for the Stepping Stones column, I recently shared that some of my favorite lessons to teach were fiber arts based, but with the time crunches and challenges with storage, I was not always able to work with the materials in a traveling setting.  I did manage to work with yarn, fabric, and other natural/synthetic materials here and there in the past, but like any enthusiastic art teacher,  I wanted to incorporate more within my classes.  There are plenty of projects in blogs and social media sites that have caught students’ interests with weaving, sewing, and other craft traditions, and it makes my heart melt to see all the exciting projects shared!

While pondering the concepts of abstract art, I developed an idea to introduce a felt project with my 4th grade students.  When they were in 2nd grade, they had learned about abstract art and design, but now a few years older, I wanted to revisit the concept by viewing the painting creations of Wassily Kandinsky.  Wassily was a Russian painter who was inspired by jazz music, which is evident in the shapes, lines, and colors applied in his abstract paintings.  


Materials
-9 x 12 styrofoam
-9 x 12 felt sheets of different colors
-Scraps of colored felt
-Stencils of different sized circles
-Markers
-Felt Glue

Objectives
4th grade students will:
-Identify how movement is shown in abstract art created by the artist Wassily Kandinsky
-Demonstrate how to create an abstract artwork with the use of felt

Standards
Creating: Explore and invent art-making techniques and approaches. 

Math Integration: Draw points, lines, line segments, rays, angles (right, acute, obtuse), and perpendicular and parallel lines. Identify these in two-dimensional figures

Directions

On the first day, we began by looking at paintings created by Wassily and discussing how we were able to see the movement within his shapes and lines in his paintings.  In Youtube, there is an animated video called “The Kandinsky Effect” by ManuMeyre that demonstrated how jazz music could influence the way a painting can be created.  The animation was based off of Wassily’s painting “Composition VIII.”  Afterwards, we viewed slides of Kandinsky’s artworks. The students had a blast pointing out paintings that appeared to have been made during a slow or fast-paced moving song.

After talking about how Wassily’s paintings were created with the influence of music, we moved on to discuss how the same idea could be used by creating an abstract collage out of felt and yarn.  This was when the students’ eyes opened up and the questions were flying.  Since it was a new materials for the students to work with. Their curiosity was peaked.  One of the things I like about working with felt is that it’s very forgiving.  The material is easy to cut, plus you can arrange your pieces together before gluing anything down.  Students were asked to create their own abstract collage using the felt and yarn provided.  With this being a new material, students were to explore how to design their pieces before gluing pieces down.  As an added bonus, we listened to music in the background to help inspire their designs!

In demonstration, I reminded students about foreground/middleground/background of layers.  Students were shown how even in Wassily’s paintings, shapes and lines were painted down in layers.  Shapes can overlap or converge to make different shapes!  For the rest of class on that first day, students began drawing and cutting out the shapes for their abstract designs.  They were given a full sheet of felt to glue down on a piece of styrofoam for stability, which also made it much easier for storage on the drying rack for clean-up.  Another tip was with using markers to draw their shapes.  Remind your students not to press hard with the markers when drawing, which can bleed through the felt and show up in the finished products.  


On the second day of class, we revisited Wassily’s work and focused on the lines used within his paintings.  In Composition VIII, Wassily used multiple bumpy and wavy lines to help unify the space in his work of art.  To create the lines in the students’ artworks, we used yarn to bring out some of the shapes and lines within their artworks.  If you’re interested in integration with math, you can identify line segments, rays, angles, perpendicular, and parallel line used within the artworks.

One of the things I noticed with the students was that they love using symbols and shapes they are familiar with.  Here and there, emojis were popping up, flag designs from their heritage, a poke-ball, and all while having fun creating their own designs.  These little pop up designs did not go against any object and I likes seeing how the students enjoyed adding their own little elements to their artworks.  


On the third and final day, students added their finishing touches.  It was their choice whether or not to add a felt frame or additional shapes/lines.  To wrap up the lesson, students described what influenced the creation of their pieces.  Was it the music they listened to in class?  Did they share their interests in their abstract designs?  Writing about their artworks is a good way to have them reflect on their development of their creations!  

Overall, the students had fun!  They talked about how much they enjoyed working with the felt material and creating their own designs.  Students would comment in the hallway how much they couldn’t wait to get back to art to continue their pieces.  If you have a pile of scrap pieces of felt that need to be used, this is a great project to use all your recycled pieces!


Friday, February 13, 2015

And Today's Special Guest...Mom! A Project Inspired by the Keeping Quilt


One day, I was walking past the 4th grade classrooms and noticed the students were reading the story called "The Keeping Quilt" by Patricia Polacco.  The homeroom teachers were doing class book cover contests, paper quilt patterns, and written responses inspired by the book and hanging their work in the hallways.  I was so excited when I saw the work they were doing, I asked if I could join in the fun!

Now for a little back story, before I was a teacher, I was a textile conservator.  In art school, I focused on the fiber arts, combining traditional methods with modern technology.  I would print photos onto fabric and create "story quilts."  This one below was created over 10 years ago for my grandma!  We added photos of our ancestry into one quilt!


So back to the story, I joined with the teachers in doing a quilt project of my own, inspired by The Keeping Quilt and an artwork by Gustav Klimt (titled Baby) seen below:


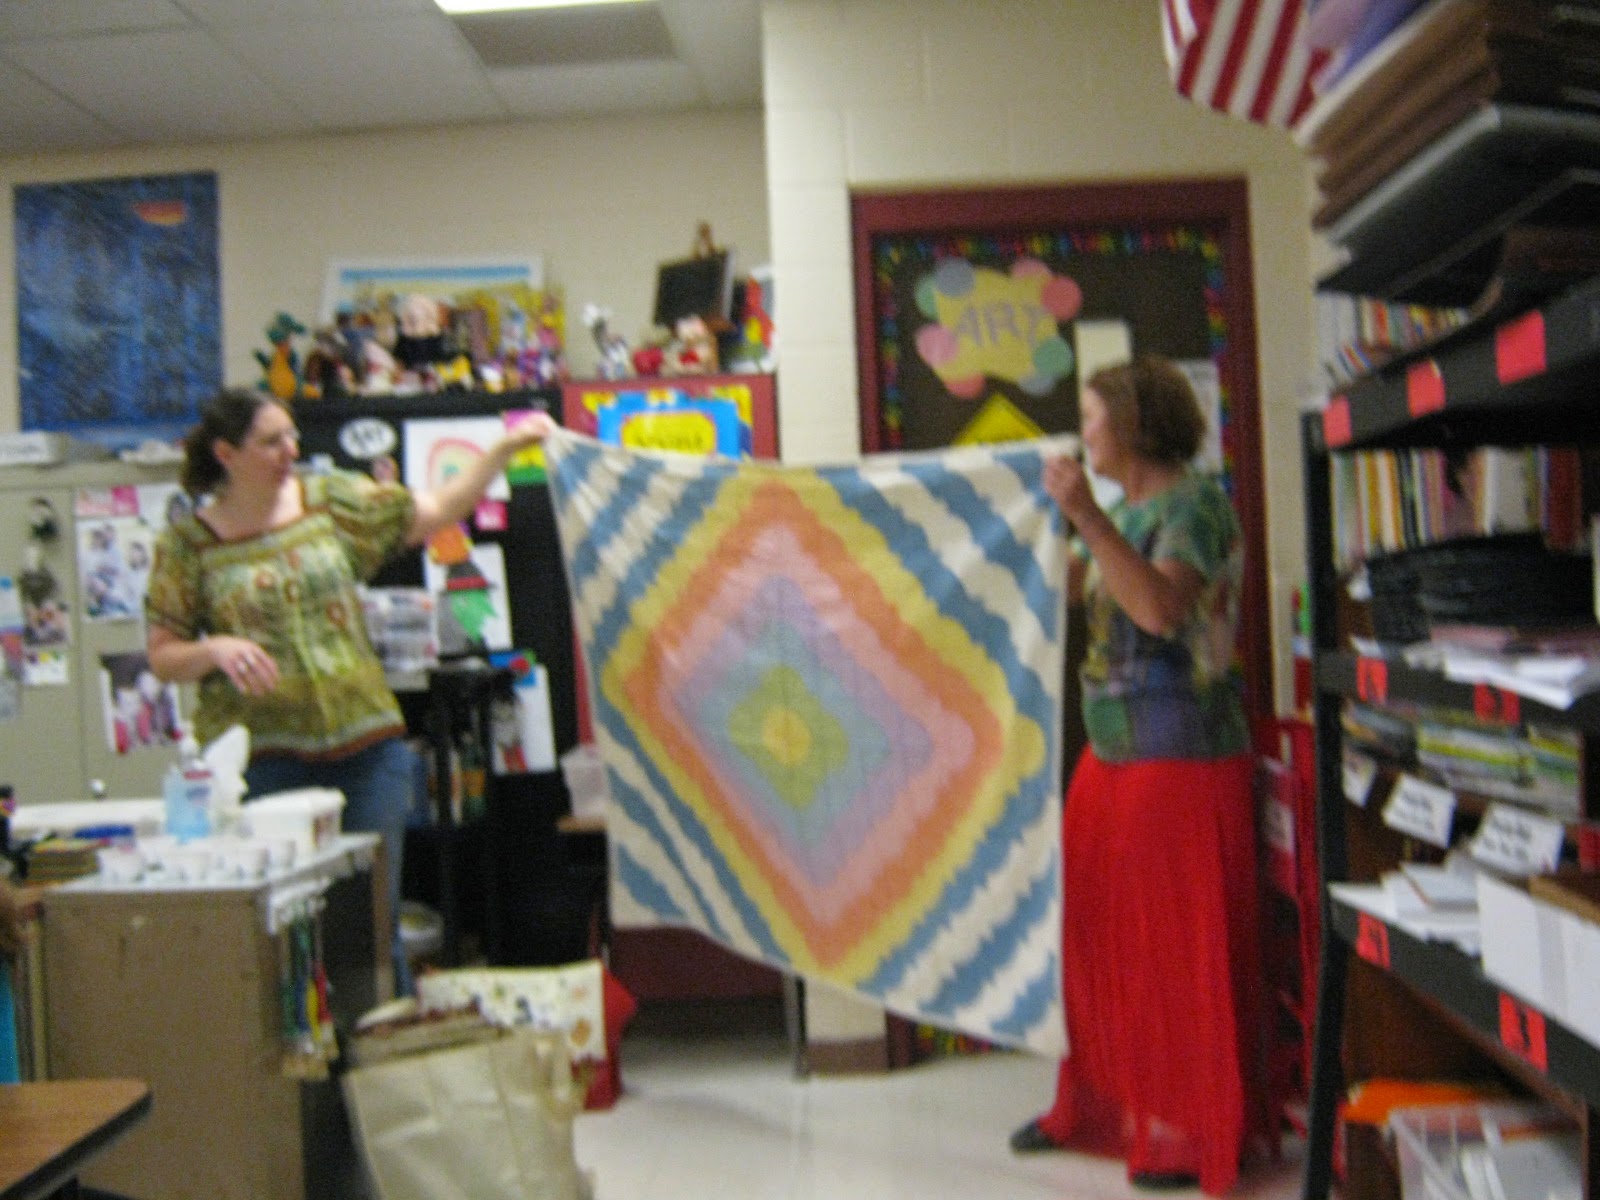
On the first day introducing the lesson, I was talking with my students about quilts and patterns while demonstrating the motions of the project.  I was sharing how I learned how to quilt from my own mother, and the students started asking if they could meet her!  Since my students were so interested, I invited my mom to my 4th grade class!  Here's some pictures of quilts she had made herself!


My mom has been making quilts since I was a baby.  She's been part of a local quilt guild for years and has made over 20+ quilts over the years.


She explained to the students the process of appliqué and embroidery, and how quilters hand stitched piece by piece before modern technologies.


This is one of the first quilts my mom had made.  It was my brother's baby quilt!


This one is a story quilt made by all her guild members.  Each member created a block of their child's favorite childhood story book.  The pieces were combined together and quilted, then hung in their local library.

Thank you, mom, for coming in and sharing your works with my students!

Now the project I shared is a familiar one I've seen from a few different bloggers on Pinterest.  Arts and Activities had also shared a similar project, which you can find here.

Materials
-10.5" x 16" white paper, about 60# weight
-12"x 18" colored paper for frame
-Black permanent markers
-Watercolor paint
-Brushes
-Pencils

Objectives
After reading "The Keeping Quilt" and discussing the artwork Baby by Gustav Klimt, students create a drawing of themselves sleeping under a quilt.  The quilts were to be filled with different patterns, then painted with watercolors.

Once completed, students reflected on their work by writing what their future dreams were and what they had accomplished with their project.


Friday, September 12, 2014

Celebrating International Dot Day!


"International Dot Day", a global celebration of creativity, courage and collaboration, began when teacher Terry Shay introduced his classroom to Peter H. Reynolds’ book The Dot on September 15, 2009.
"The Dot" is the story of a teacher who challenges a doubting student to trust in her abilities  to “make her mark”. What begins with a dot on a piece of paper becomes a breakthrough in confidence, which has gone on to inspire countless children and adults around the globe.

To celebrate, each grade level has created a project that is "dot-like."  Once projects are completed, they will be displayed in the halls of our school!

Some projects took at least 3 class periods to complete, but by the end of September, our school will be filled with dots galore!


This is just the start of the many dots to display!


Kindergarten Dot Paintings
Inspired by the artist George Seurat


Materials
-white paper (any size you wish to cut)
-paint dots (can be found in Nasco, Triarco, or Michael's Arts & Crafts in a hurry)

After showing the painting "Sunday Afternoon" by George Seurat to kindergarten students, I shared how pictures can be made just by using dots.  Using "paint dots," students filled their paper with colorful spots! 

Total time: 1-40 minute class period


1st Grade Mandala Paintings
(Thank you, Cassie Stephens, for your project idea!)


Materials
-small paper plates
-black permanent marker
-neon tempura cakes
-paintbrushes
-water cups
-table clothes

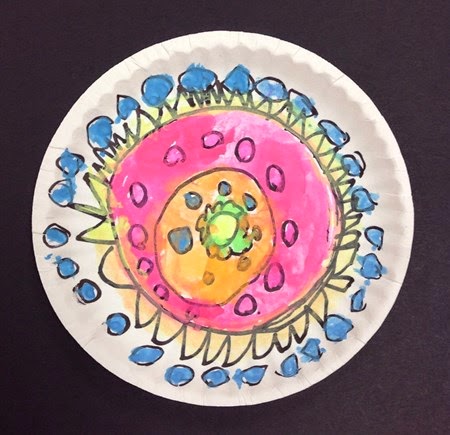
After sharing mandala designs with 1st grade students, we created our own mandala-like designs within a plate and painted with bright colors!

Total project time: 1-40 minute class period


2nd Grade Abstract Drawings
Inspired by the art of Wassily Kandinsky


Materials
-pencils
-white paper (cut to square)
-black markers
-colored markers
-scissors
-glue
-a round container for center circle

Students were introduced to the art of Wassily Kandinsky.  Wassily used many geometric shapes and creative lines to fill his artwork.  2nd graders were asked to do the same, all while listening to music to inspire movement in their drawings!

Total project time: 2-40 minute class periods


3rd Grade Mandala Drawings
Inspired by sand-made mandalas


Materials
-white paper
-pencils
-a round container to trace circles
-black markers
-colored markers
-scissors
-glue
-square colored paper for frame

Students were introduced to sand mandalas.  As nice as it would have been to actually make one with sand, we stuck with drawing our designs and adding bright colors instead.

Total project time: 2-40 minute class periods


4th Grade Metal Relief Dots
(Cassie, I thank you for this idea too!  I had to try it!)


Yes, you can use coins as examples!

Materials
-cardboard or poster board circles
-foam shapes (when I order them now, they are stickers)
-aluminum foil
-spray glue
-permanent color markers

Students were shown examples of metal relief, like coins and jewelry.  Relief is when you have dimension within a flat piece, which creates texture.  When creating their relief, students used foam shapes for the dimension, then (once covered in foil) colored on top with patterns and designs.

Total project time: 1-40 minute class period


5th Grade Radial Symmetry
Inspired by Stained Glass Window Designs


Materials
-black paper (cut into a circle)
-foam shapes (with or without stickers)
-pencil
-colored paper for frame

Students were introduced to radial symmetry.  Examples were shown of many stained glass window designs, as well as kaleidoscope patterns.  Students created their own radial designs (split into four quadrants) using the foam shapes to demonstrate their understanding.

Total project time: 2-40 minute class periods


6th Grade Zentangle Patterns


While searching on Google, I came across tons of zentangle patterned circles.  This was not my image, but I'm using it as an example of what I wanted my students to create.  So to the original artist, you inspired us!  Thank you!

Materials
-white paper circle
-pencil
-skinny black marker
-zentangle pattern packet with examples
-colored markers
-colored paper for frame

Students were shown zentangle pattern examples and where they may find patterns in the commercials they watch or the clothing they wear.  Students create their own zentangle pattern circles, teaching them patience and care with overlapping patterns.

Total project time: 3-40 minute class periods.  The students LOVED their work!


What did you do for International Dot Day?