

Before teaching acrylic painting to an entire grade level, I started with an after school class, limited attendance to 15, and offered it to 5th and 6th graders. Starting out, I wanted to work more individually with students so I could focus on technique and focused instruction.
My after school painting classes are given 5 days to complete their painting. Day one is background, day two is middle ground, and day 3 is foreground, leaving 4 and 5 for details and fix-ups. With the smaller class size, I can individually show students random techniques of blending, fixing mistakes, and brush techniques.
Materials
-16" x 20" canvas boards, and limited my class to 15 students)
-Acrylic paint brushes (different sizes)
-Acrylic paint (I use the crayola basic color set, but prang also has some nice colors and is easier to pour. For advanced painting techniques, I love liquitex tubes)
-Water bowls
-Newspaper (can be used for mixing palette too)
-Pencils
-Black markers (if needed)
-Paper Towels
-Paper plates (easy to toss palettes)
Technique #1: Paint in Layers
Acrylic paint can be thin, and it may take a few painted layers before your picture looks stunning. I tell the students to start with a base coat color first, and with each additional layer, add more details and color until they're happy with the picture. In this example, the lion's mane took some time, but once built up, the picture looks more complete and texturized.

Technique #2: Start with the Background
I always tell my students to start with the background first. It's best to get that back color down and even push the color a little into the objects in the foreground. When students start with their front object first, I always see a space around the object not completely painted in (when you see the little white specs not completely painted in on a canvas).


When a student uses mixed colors for a sky, it's always best to start with that layer so you can get a smooth blend of colors.
Trick #1: Enhance the Details
I always have students show me a finished piece, and I get the urge to enhance it. At the elementary level, I want students to see how to make their artwork pop. The way I enhance the pictures is my using white paint mixed with the object's color to add highlights. In the following painting, I had the student add light lines to the water, waterfall.

Trick #2: Made a Mistake? Let it Dry and Try Again.
The never-ending battle with acrylic paint is when a student makes a mistake, they feel it's automatically ruined. I always tell them not to fret, let it dry, and paint over it. They are amazed with how well mistakes hide when they have patience.
Trick #3: When in Doubt, Trace.
Many times, when a painting is complete, it appears choppy. Using a black permanent marker, I ask students to trace their objects to help them stand out better. I do not always ask them to do this, especially if they refined their edges, and I don't want students to use the marker as a crutch the older they get.

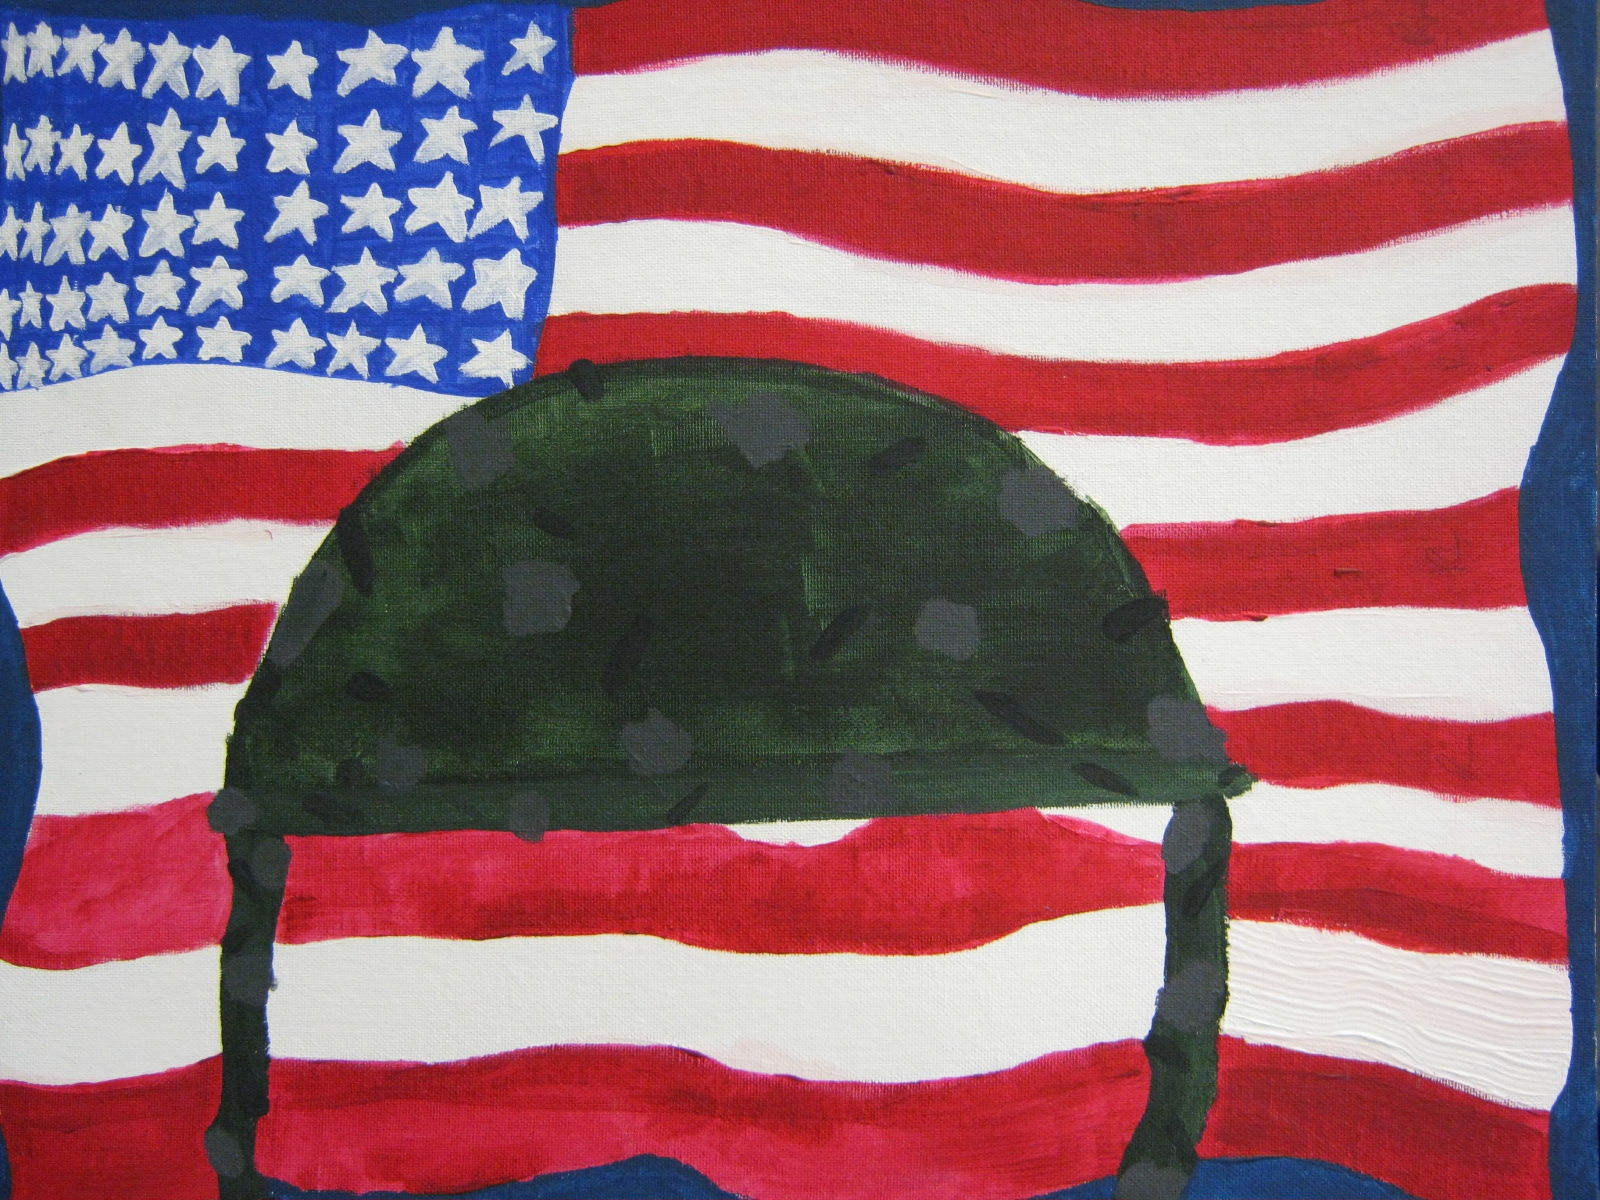
Here are a few examples from previous years!


One last tip...offer a mini art show for teachers and parents to attend and view the artworks. It's not hard to set up, even in a cart situation, and the students are proud!
Mesmerized article written on this blog with other relevant information. It is straight to the point that how we can improve our skills as well as how we can be represented to a new stream of professionalism.
ReplyDeleteAgile Project Management
Superbly written article, if only all bloggers offered the same content as you, the internet would be a far better place.. printable wall art
ReplyDelete