

It's Spring! With April showers bringing on the May flowers, kids are looking up to the sky, hoping to see rainbows after a nice rain. Since students are learning about rainbows and how they're made in their classrooms, why not visit the rainbow in art as well?
I like to look at this lesson as a re-visit in Primary and Secondary colors. My kids already are introduced to color mixing in the fall with tempura paints, so mixing the clay is not as tricky as it would seem. Since the students are in a primary grade level (and due to the limit of clay), I prefer to stick with the main 6 colors and exclude indigo.
BUT WHY?????? THAT"S AN IMPORTANT COLOR OF THE RAINBOW!!!!!!! Well, indigo is a tertiary color and tricky to mix so young, so I prefer not to visit that color in a primary grade level. It's not that I want to give false information to my students, but I can easily visit the color at another time.
Materials

-Depending on the number of 1st grade students you teach, order the box of primary color Crayola Model Magic clay from Nasco or Triarco. One box can cover up to three classes of around 25 students. The box is filled with four colors: red, yellow, blue, and white. Each package of a color can be separated for four students total.
-Small white paper plates. I prefer the thin plain white paper plates you can get at the store. It helps the students to form their rainbow shape, and separates the projects once they're finished.
-Wooden stylus sticks. This is used for the clouds only
-Pencil to write their names on the plate before starting.
Directions
Each student receives one chunk of each of the colors: red, yellow, blue, and white. Tell the students to break up their chunks into pieces.
3 chunks of red
3 chunks of yellow
3 chunks of blue
2 chunks of white

1. Take one red chunk, roll it out on the table, and shape the first line of the rainbow on the plate.
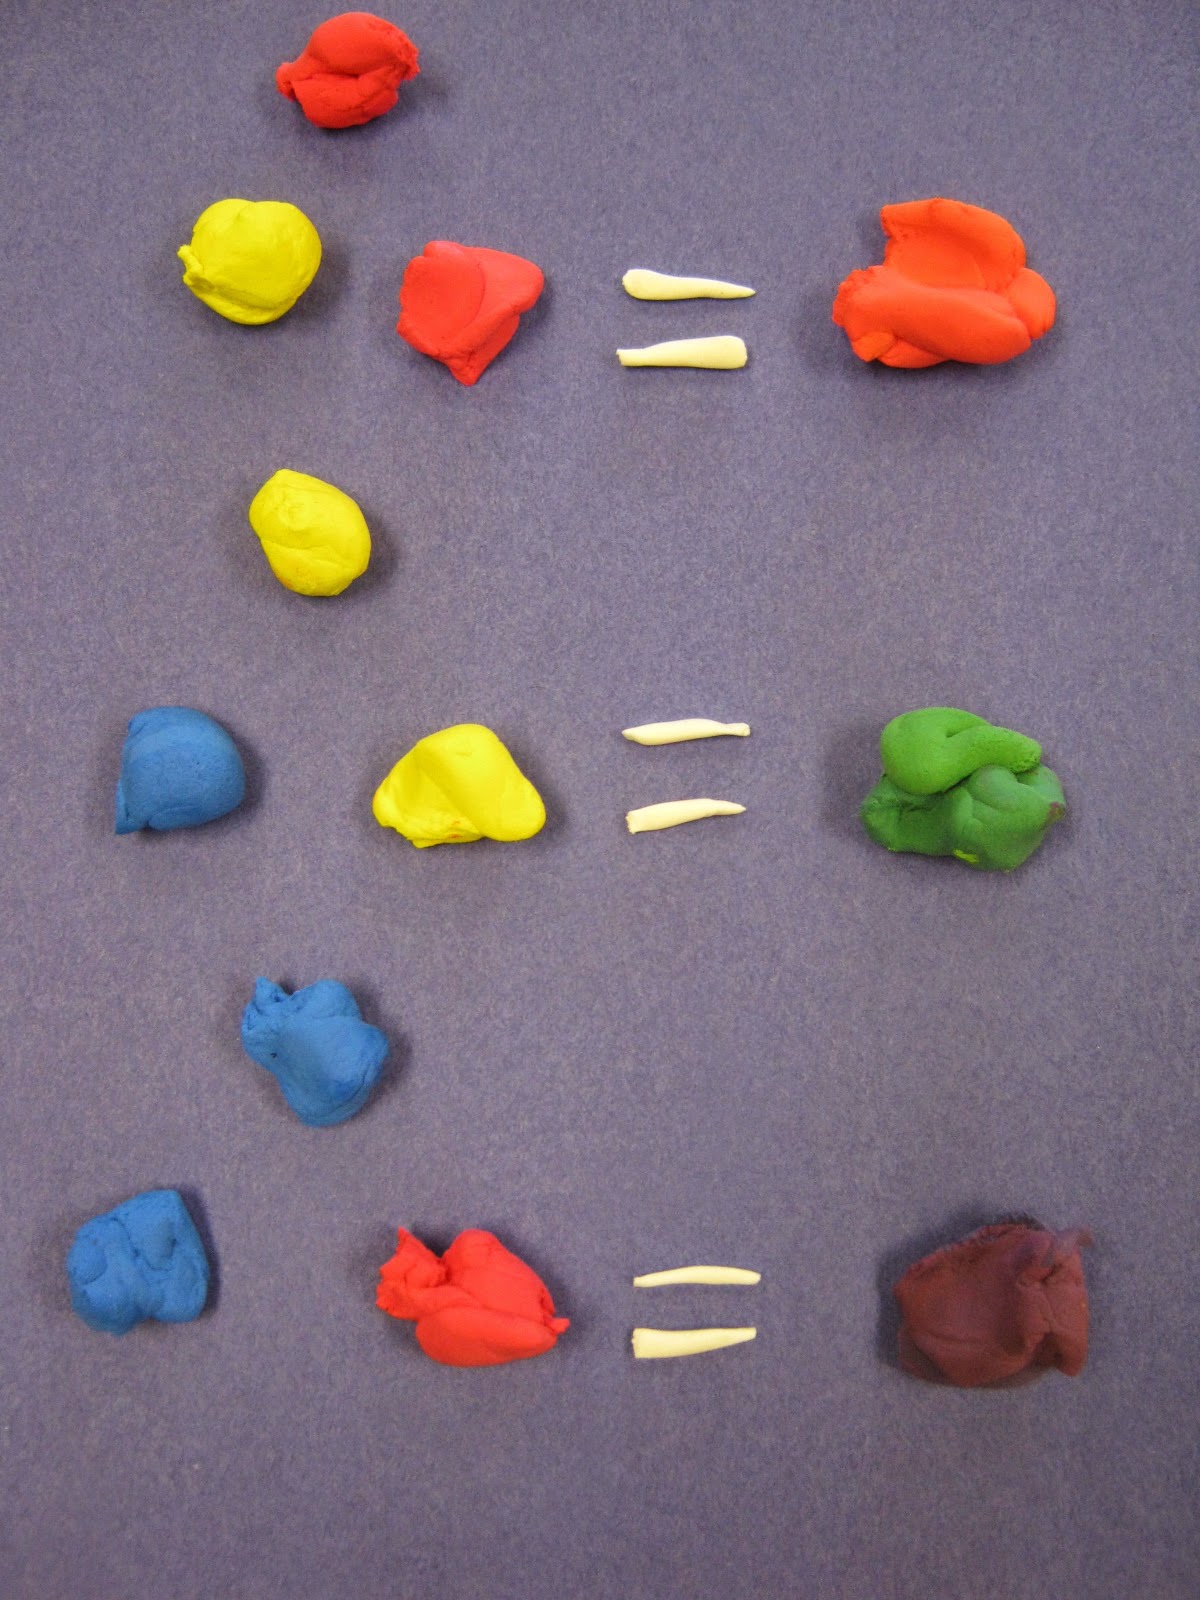
2. Take one red chunk and one yellow chunk, mix together until you get orange. Roll it out on the table, and press against the red line on the plate.
3. Take one yellow chunk, roll it out on the table, and press against the orange line on the plate. By now you'll notice that the lines are getting smaller, so students may have a little extra clay after each line. Ask students to keep the extra to the side and to not press all the extra colors of clay together.
4. Take the last yellow chunk and one blue chunk, mix together until you get green. Roll it out on the table, and press against the yellow line on the plate. Put extra clay to the side.
5. Take one blue chunk, roll it out on the table, and press against the green. Put extra clay to the side.
6. Take the last red chunk and the last blue chunk, mix together to make purple (violet). Roll it out on the table, and press against the blue line on the plate. Put extra clay to the side.
7. Take one white chunk, roll it into a ball, then flatten it. Take the stylus stick and press it along the edge of the circle to make fluffy clouds. Place cloud at one end of the rainbow. Repeat on the other side.
8. Once the student has finished, have then hand you the plate. They can easily stack to the side until they are ready to take home.
9. Before passing out the materials, make sure you demonstrate to the students how to break up the colors and mix what is needed.
If you keep the rainbows until they are dry, you can easily hot glue a piece of magnet to the back, so families can hang them on the fridge at home!

You will have some extra chunks of colors leftover. Make sure you seal them separately in ziploc bags for other projects you may need them for!

Here are a few final pieces! I love how bright and colorful they are!


No comments:
Post a Comment